The Learning Viewer in Beast Core 4 provides interactive 3D Models, educational content, navigation features, and menu options in a multiple learning modes delivery style that elevates your online learning experience to the next level.
Learning Viewer Landing Page
Select your desired Platform and Lesson on the Learning Viewer landing page
.png)
Left click the (upper left) dropdown arrow to view available Platform(s)
Find available Lessons for your selected Platform below the All Lessons banner
.png)
Or, type keyword(s) into the (upper right) Search bar to locate a specific lesson
.png)
Left click Start Lesson to load your desired content

Navigate the Learning Viewer Interface
Notice the designated information anchored in each corner of the Learning Viewer Interface.
.png)
Lesson Title - upper left corner
Information (card or button) - lower left corner
Information card automatically displays educational content when the Interface first loads
Close the Information card for an unobstructed view of the 3D Model
Left click the minimized Information button to reopen the Information card
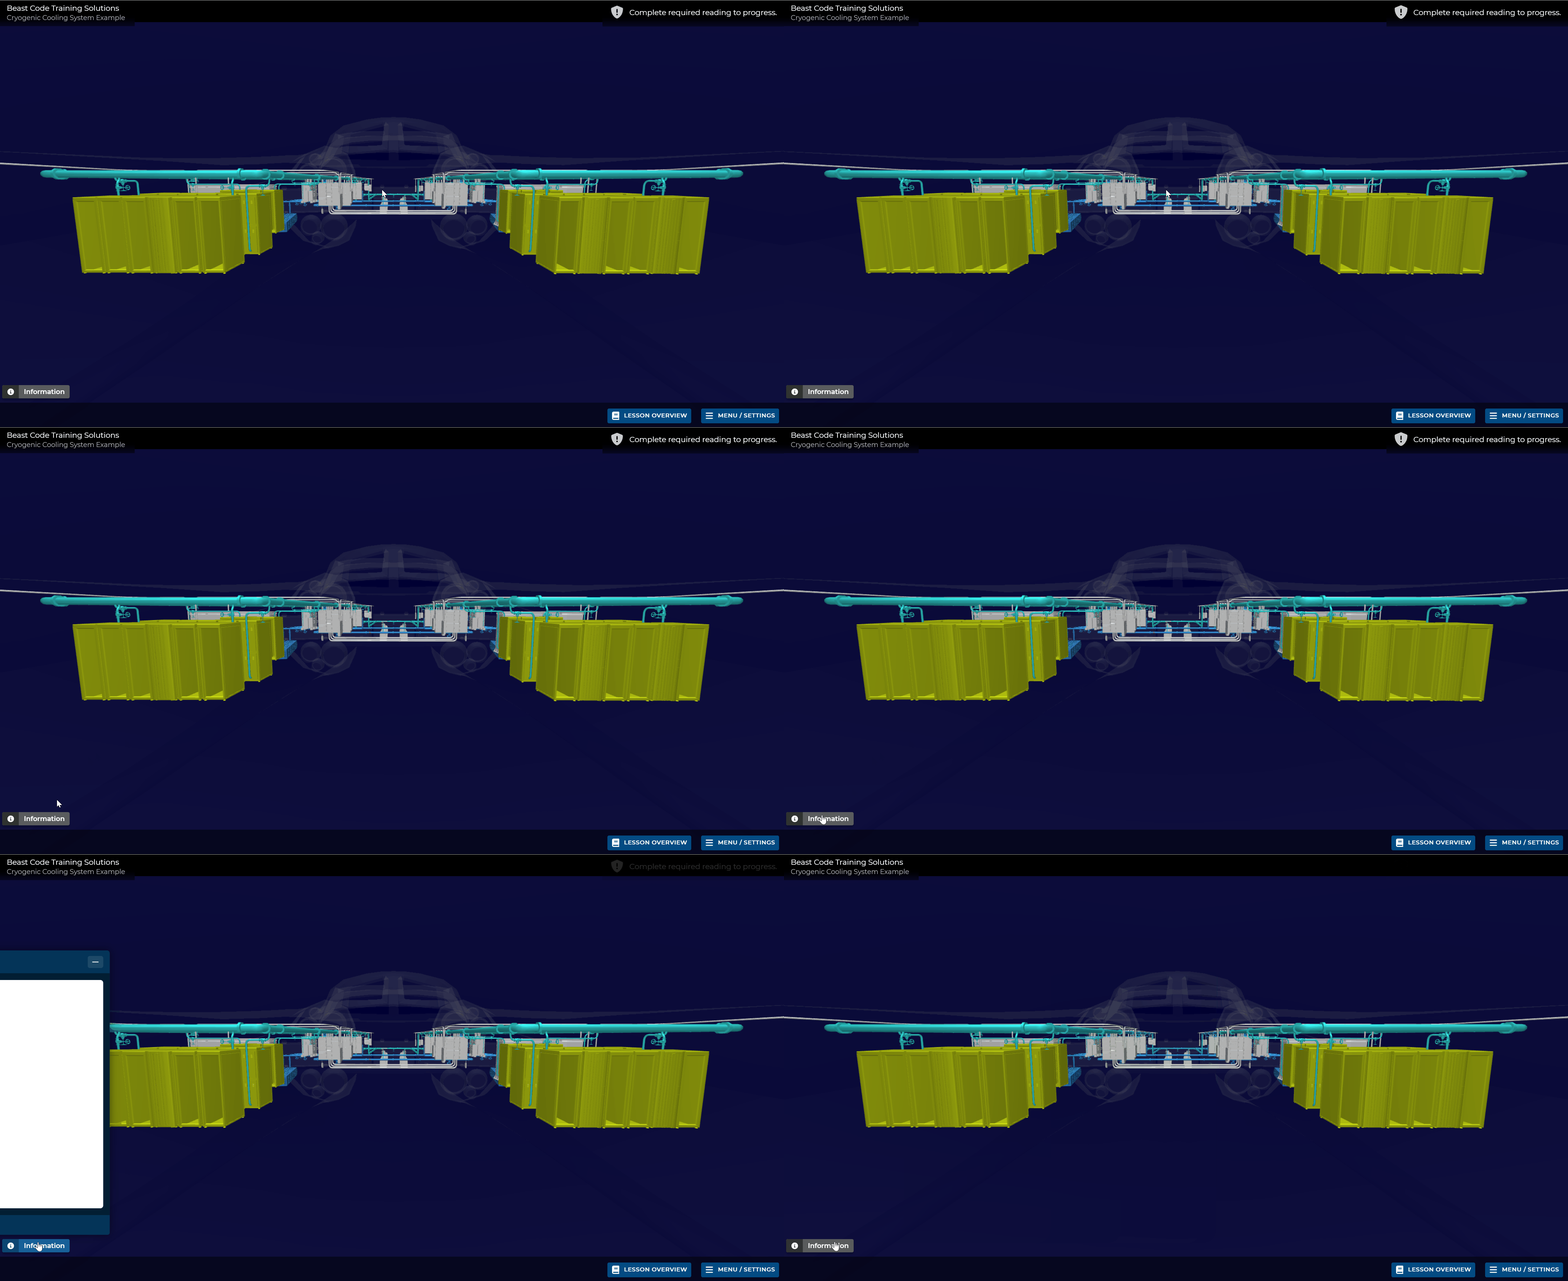
Objective message (exclamation point on shield icon) - upper right corner
.png)
Explains the action required for you to advance to the next page
Message disappears when you complete the required action
NOTE
If an Objective message is visible on your current lesson page, it will remain visible if you visit the Lesson Overview page.
Lesson Overview and Menu/Settings buttons - lower right corner
Detailed in next section
Lesson Overview Page
.png)
NOTE
Items on the above graphic are explained in left to right order, starting at the top of the page.
Lesson Title - upper left corner
Map tab (default) - displays an interactive Lesson Map (outline) of the entire lesson
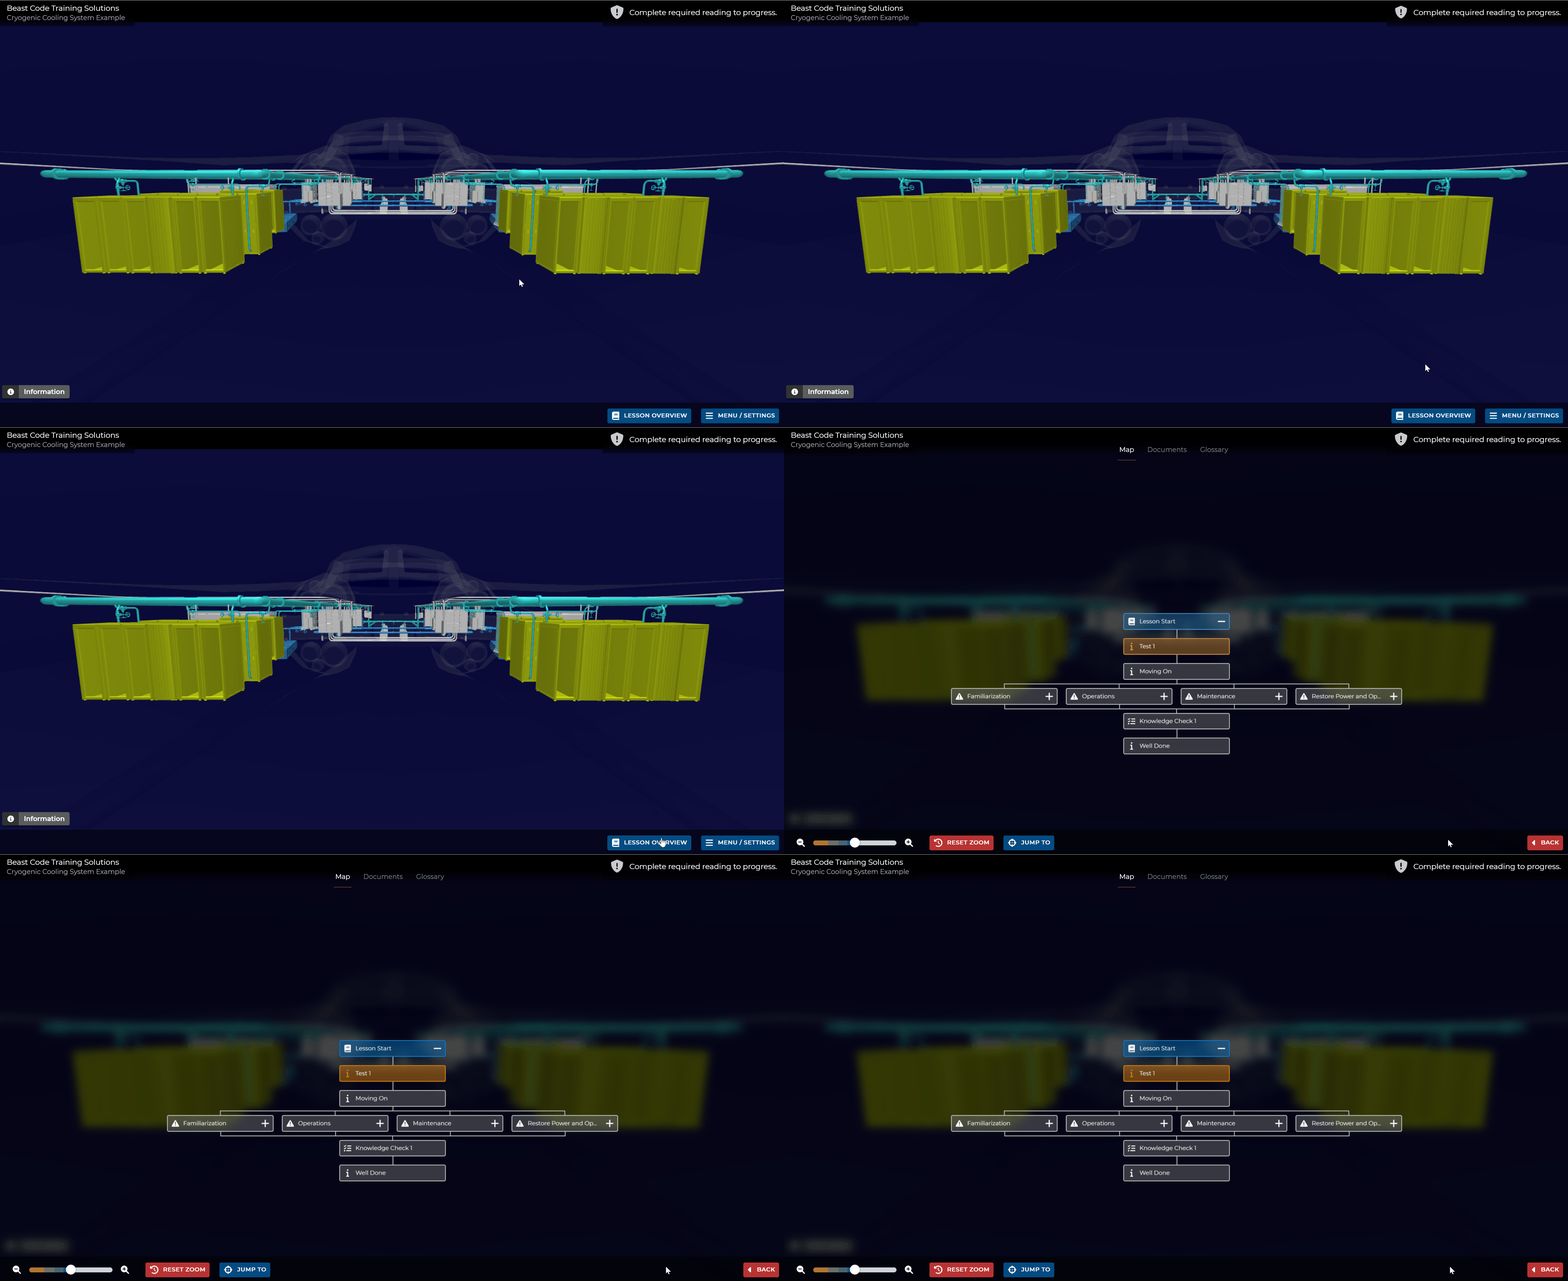
Left click the plus sign beside a listed topic to expand the Lesson Map (click the minus sign to minimize)
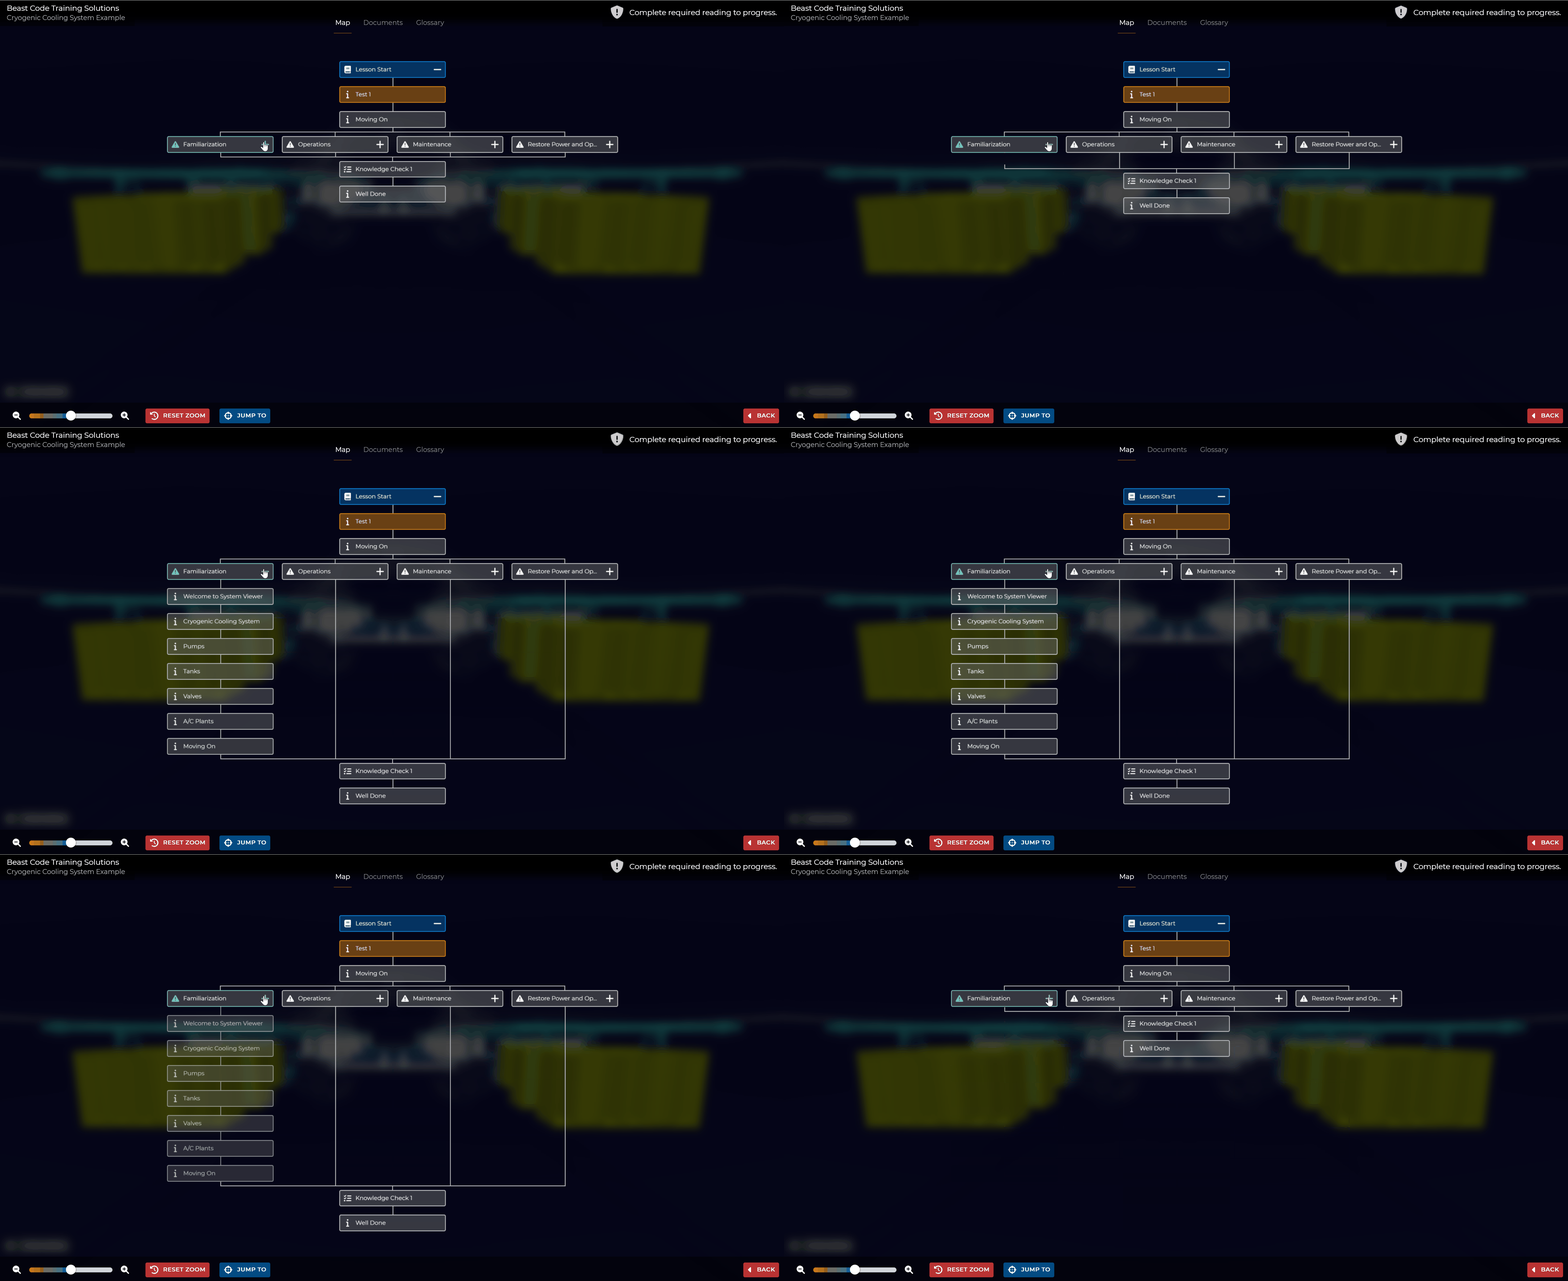
Left click to select and highlight a specific content card on the Lesson Map
Then left click the Jump To button (bottom of the page) to go straight to the content of a selected card
.png)
Left click the Back button (bottom right) on the Lesson Overview » Maps page to return to the Learning Viewer Interface
Documents tab - left click to display links to lesson references/Resources
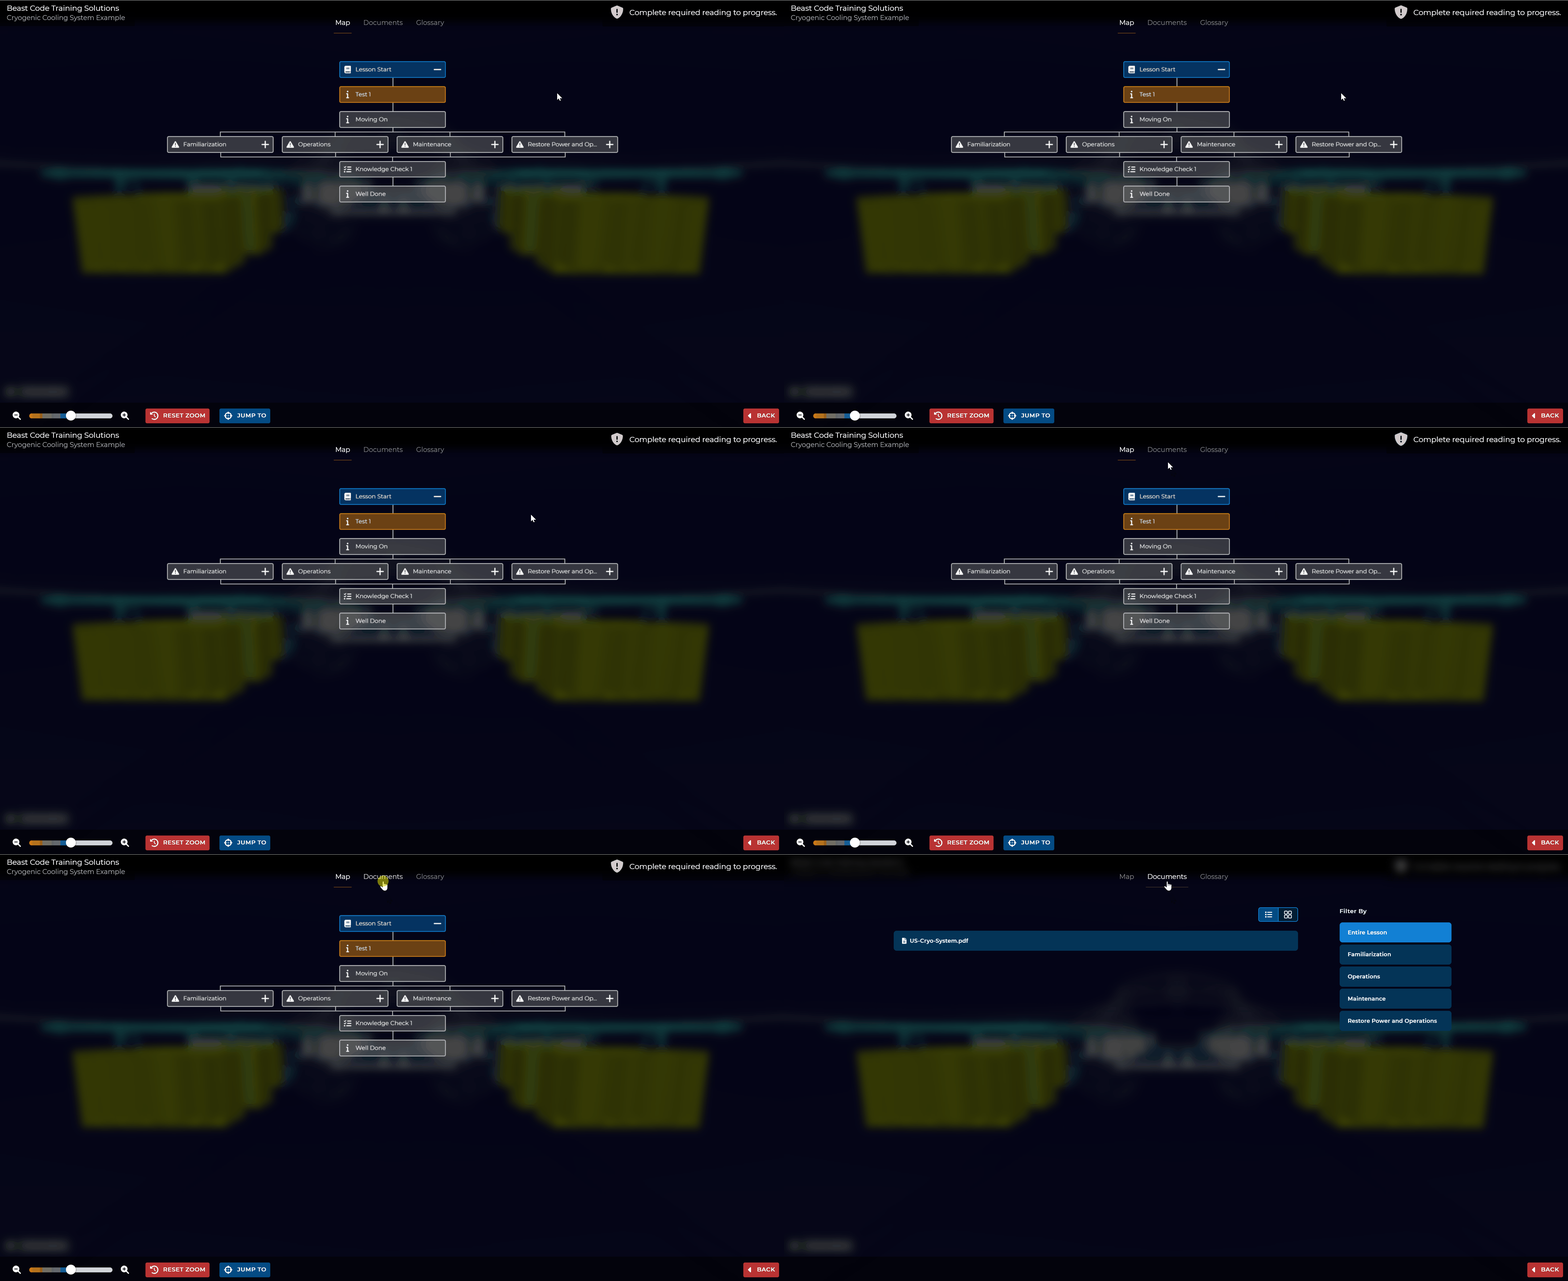
Documents landing page opens with all available links to lesson resources displayed as titles
Left click the thumbnails icon to preview linked resources
.png)
In the case of multiple resource links, use the provided filters to narrow your search for a particular document
.png)
Left click the Back button to return to the default Maps tab of the Lesson Overview page
Glossary tab - left click to display an alphabetized list of all acronyms used in the lesson and their definitions
If desired, use the provided filters (shown above) to narrow your search for a specific acronym
Minimize and Zoom options
.png)
Left click the minus sign magnifying glass icon to minimize items on your screen
Left click the plus sign magnifying glass icon to enlarge items on your screen
Or, move the slide bar to the left to minimize (or to the right to enlarge) items
Left click Reset Zoom to revert to default display settings
Jump To navigation feature
.png)
First highlight a specific content card on the Lesson Map
Then left click Jump To to transport to that page of the lesson
Back button (lower right corner)
Left click to return to the Learning Viewer Interface (if you are on the default Maps tab)
Left click to reload the Lesson Overview page (if you are on a tab other than Maps)
Menu/Settings Button
Left click Menu/Settings to access the following options:
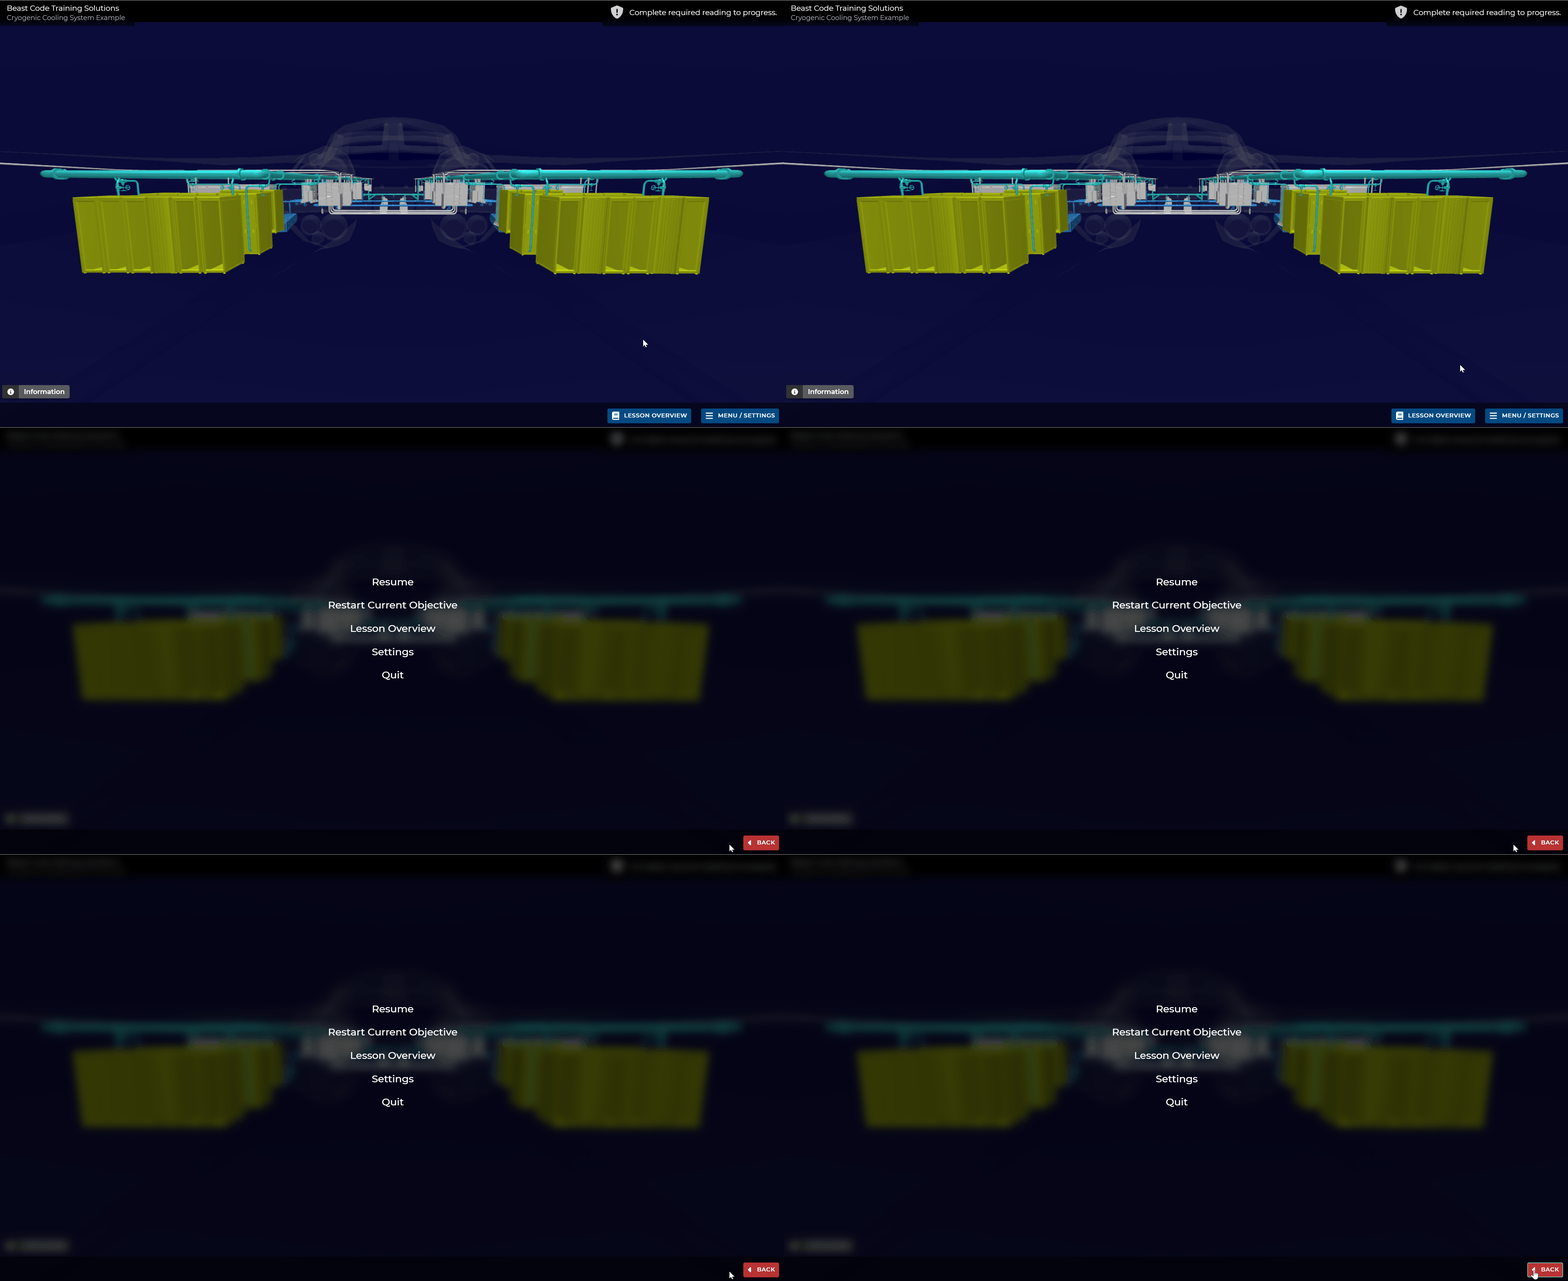
Resume - displays your last visited lesson content page, exactly where you left off
Restart Current Objective - resets to the initial view of your current lesson page
Lesson Overview - provides a secondary way to access the Lesson Overview page with the (default) Lesson Map display
Detailed in above section
Settings
Notice the Settings page opens on the default Systems tab. (Other tabs may not be applicable to your lesson.)
.png)
Movement Speed slide bar - use to control how fast/slow the camera moves within the 3D Viewer environment
Hull Opacity slide bar - use to control the visibility or transparency of the hull (or framework) of the 3D Model
3D Model Exploration
Left click the 3D model on a lesson page screen to access specific Component information
Your cursor changes to a Crosshair in this mode
Press the esc key on your keyboard to reclaim your cursor
Left click to highlight a component you desire to learn about
This action automatically loads the Information Pane (shown below)
Displays the Name, System, Space, and EquipID of your selected component
.png)
Left click the toggle icon (lower right corner, above the Menu/Settings button)
This action closes the Information Pane (lowercase i icon) and opens the States Pane
.png)
Displays the State (status) of your highlighted component
Not Damaged/Damaged
Open/Shut
Experience Lesson Content in Multiple Learning Modes
NOTE
To promote optimal learning, your lesson delivers educational content in multiple learning modes.
Each content card delivers instruction in a designated learning mode
Specific learning modes included in a particular lesson are:
Based on lesson content and stated Learning Objectives
Selected in the lesson design phase with the goal of producing desired Learning Outcomes
Look at the learning mode icons beside the content topics listed on your Lesson Map to determine when your lesson changes learning modes
.png)
Learning mode examples:
Interface mode (square with circled corners icon) - simulates control of an interface within your workspace
Perform required action virtually to progress
.png)
Maintenance mode (wrench and socket icon) - simulates maintenance routines within a modeled workspace
Grab a provided tool with your virtual hand and remove/replace parts on a modeled component
.png)
Navigation mode (magnifying glass icon) - places you in first-person avatar mode
Use keyboard and mouse control options to navigate to a specific component or space
.png)
Quiz mode (checkmarks beside selected responses icon) - displays questions designed to assess your level of lesson engagement
.png)
Question types:
Multiple choice, single answer
Multiple choice, multi-answer (shown below)
True/False
Left click the small white box beside a desired answer choice to select (populates with a checkmark)
.png)
Left click Submit Quiz (upper right) to submit your answer(s)
Virtual Instruction mode (lowercase i icon) - presents lesson content (e.g., text, audio narration, videos, illustrations) on Information Cards
Learning Viewer Interface often displays an interactive 3D Model in this mode and provides links to documents and/or diagrams