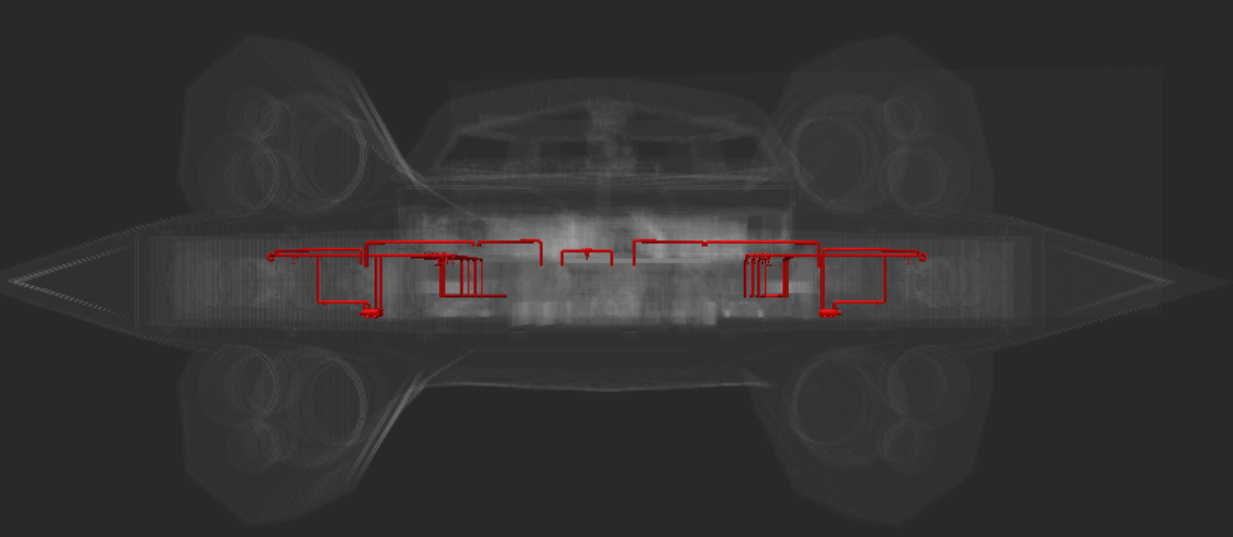
Use this guide if you are a new LSV Prototype user or need a quick refresher.
Launch the LSV Prototype
Double click the Ship Viewer application to launch the program.
LSV Prototype loads with:
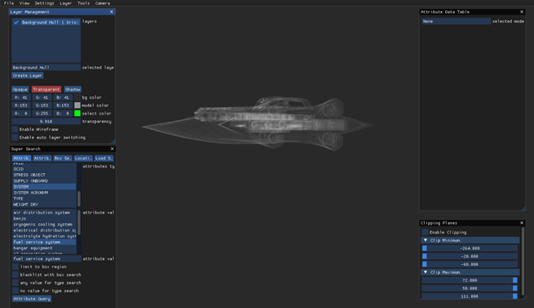
The Hull of your ship visible in grayscale
Four default windows open, one in each corner of your screen:
Layer Management - upper left
Super Search - lower left
Attribute Data Table - upper right
Clipping Planes - lower right
NOTE
You can move, resize, or close these windows at any time.
To reopen a closed window, click the View tab on the top Navigation Bar and select a desired window.
The Super Search and Clipping Planes windows are called Search Tools and Clip Planes in the View menu
Decision Time
Two options:
Launch the software with nothing else loaded and create a layer to add to the hull.
(Refer to the section below)
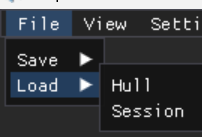
Or, load a saved Session if you want to work off a previous build.
File → Load → Session
Create a Layer
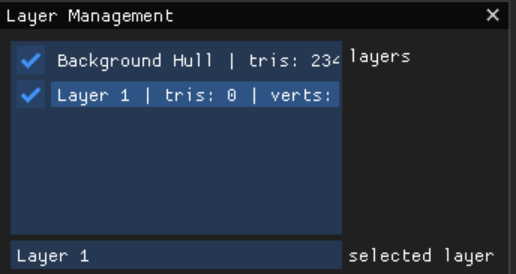
To load your first layer, begin by clicking Create Layer in the Layer Management window.
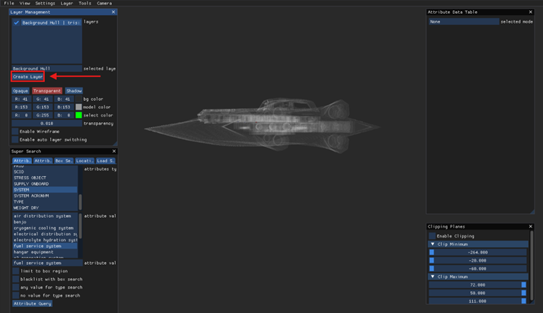
Notice that your newly created layer is:
Named empty by default
Highlighted in the list of layers
Contains no other data
.png)
Important: Rename this layer in the selected layer box.
Use a specific name you will easily recognize in the layers list
To add data to your new layer:
Use the Super Search window and its available menus to locate the specific attribute type and/or attribute value
Example: In the image below:
Attribute Search is the active search tab
System is highlighted as the selected attribute type
Fuel Service System is the selected attribute value
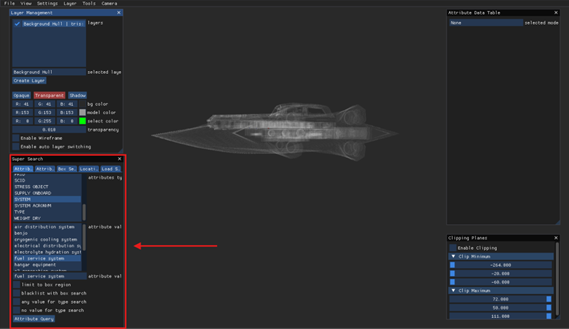
Click the Attribute Query button (at the bottom of the window) to load a selected attribute value onto your new layer

The layer will be loaded onto the scene in the default Opaque and gray #999999 Hex code
Customize the layer in the Layer Management window by:
Selecting Opaque, Transparent, or Shadow Views
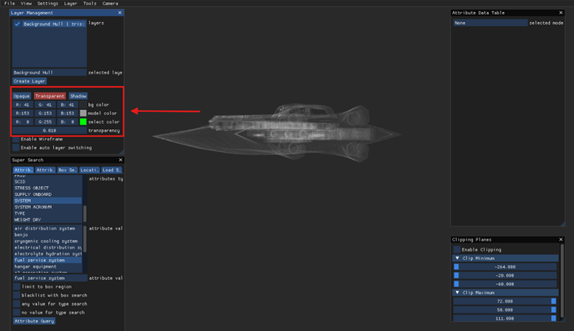
Changing the default color using the model color pop-up window
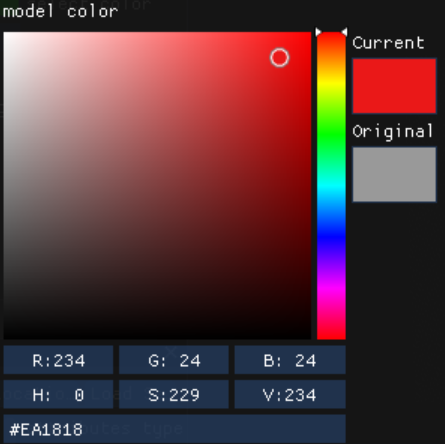
Observe the changes on your loaded scene
