Use the Scene menu on the LSV Prototype’s Settings tab to disable, enable, or configure grid lines on a loaded scene.
Disable Grid Lines
Scene grid lines are enabled by default in the LSV Prototype.
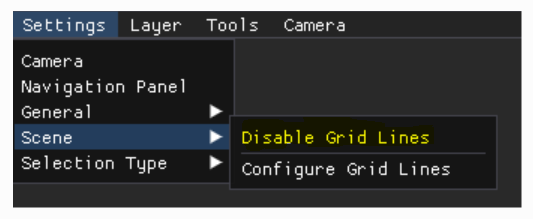
To remove grid lines from your currently loaded scene, select Disable Grid Lines on the Settings → Scene menu in the top navigation bar.
Enable Grid Lines
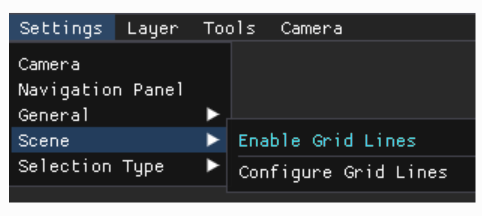
To return to the default setting (which displays grid lines on your loaded scene), select Enable Grid Lines on the Settings → Scenes menu.
Configure Grid Lines
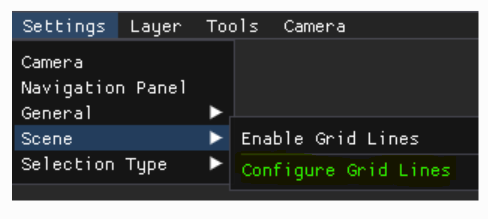
Select the Configure Grid Lines option on the Settings → Scenes menu when you want to customize the grid lines on your loaded scene.
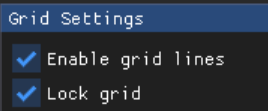
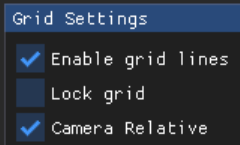
In the Grid Settings pop-up window:
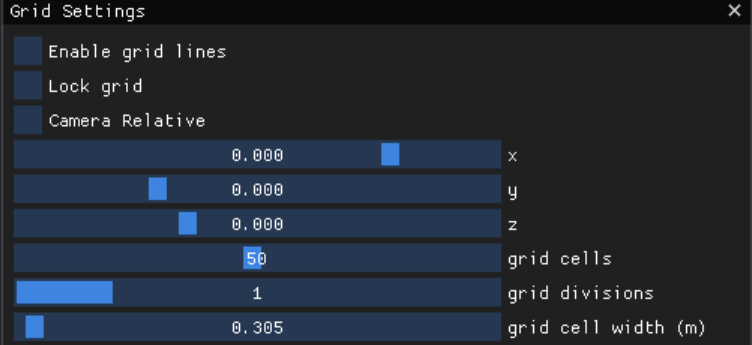
Check Enable grid lines to show grid lines in your scene

Check Lock Grid to keep your grid in place
NOTE
This setting will override any future customization.
Check Camera Relative to make the grid lines follow the camera on its specified area of the axis
Further Customization Options

Drag the blue sliders in the grid cells, grid divisions, and grid cell width boxes to further customize the way the grid displays in your loaded scene
Or click into each box and press Tab to enter values manually
Use the XYZ axes boxes to place the grid in a desired location

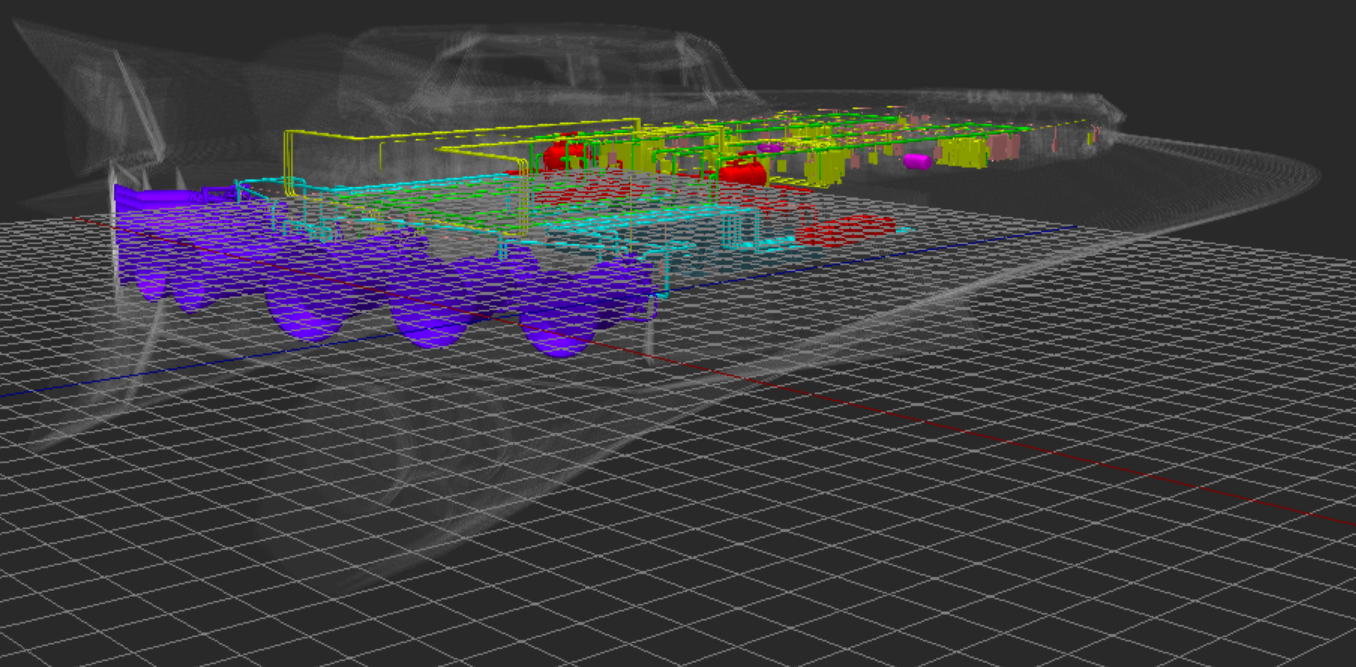
Reduce or increase the number of grid cells to make your grid smaller or larger, respectively

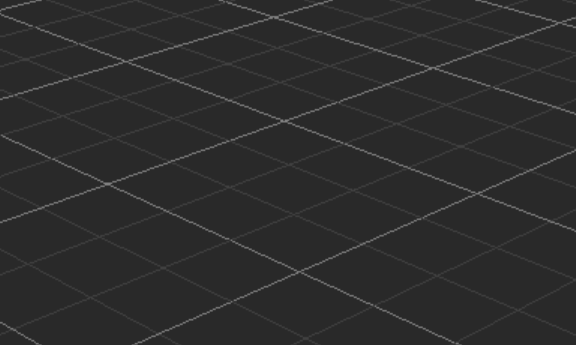
Increase the number of grid divisions to subdivide grid cells into smaller segments (displayed as fainter lines)

The grid cell width box displays the total width of an individual grid cell in meters (m) and allows settings ranging from 0.100 to 10.0 (m)
