Follow these easy steps to upload a PDF document in the Beast Core 6 Document Processor editing tool.
Add a New Document
Access the Document Processor editing tool.
Click
.png) to upload a new PDF.
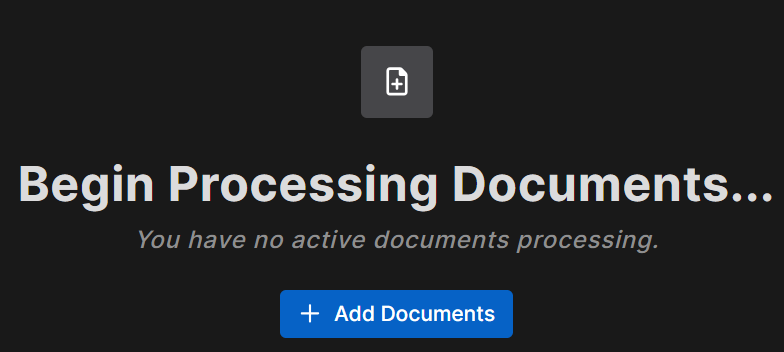
to upload a new PDF.This button normally displays in the upper right corner of the Process Documents window
Or, displays below the mid-screen Begin Processing Documents notification if no previously uploaded PDFs exist
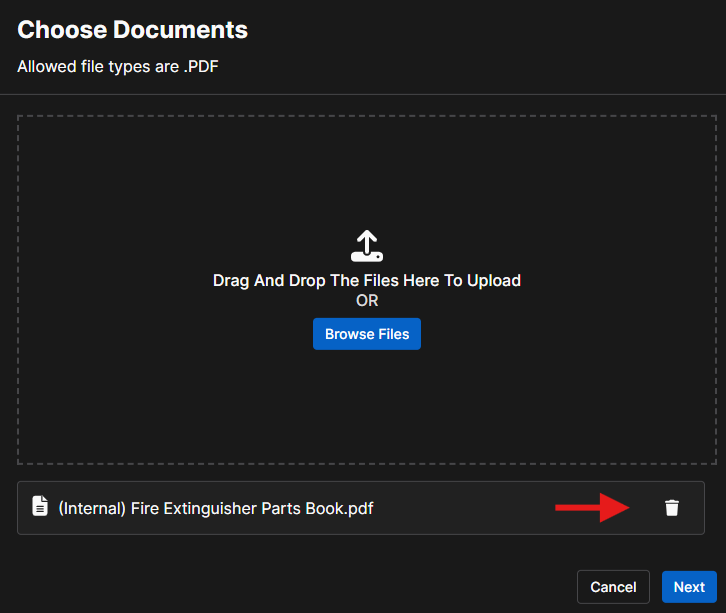
Use the Drag And Drop or Browse Files option in the Choose Documents pop-up window to add your desired file(s).
Check your requested file name(s) in the lower section of the Choose Documents window.
Press Next to proceed
Or, click the Trash Bin icon to delete an unwanted file
NOTE
Pressing the Cancel button stops your Add File request and returns you to the Process Documents screen.
When the word Done displays beside your requested file name(s), press Close to exit the Choose Documents window.
.gif)
Check for your newly added file(s) in the document information table on the Process Documents screen.

Check the Status column of your newly added document(s).
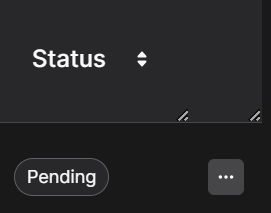
Status message definitions:
Pending (in the queue for uploading)
In Progress (currently uploading)
Complete (fully uploaded)
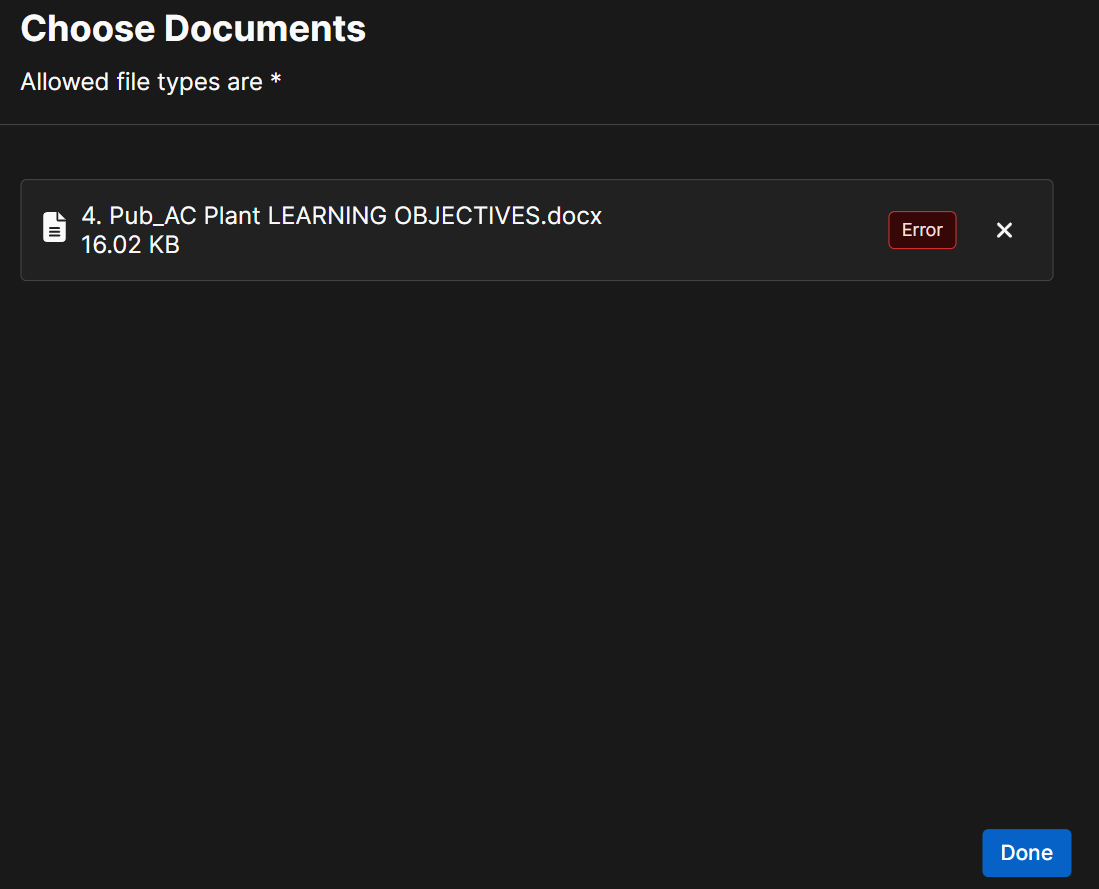
Error (failed to upload)
NOTE
An Error status indicates that a file is either corrupt or not a PDF.
To clear this error:
1. Delete the file with the Error status by left clicking the X icon on the Choose Documents pop-up window (screen 2), then left clicking the Done button.
2. Check that the file you tried to add is a PDF (or convert it to a PDF), then repeat Steps 1-6.
See View an Available Document for additional information.