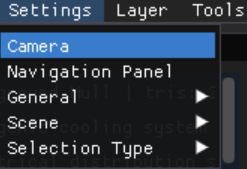
To customize your camera settings in the LSV Prototype, select the Camera option in the Settings tab.

Accessing Camera Settings
Click Settings → Camera in the top navigation bar to open the the Camera Settings menu.

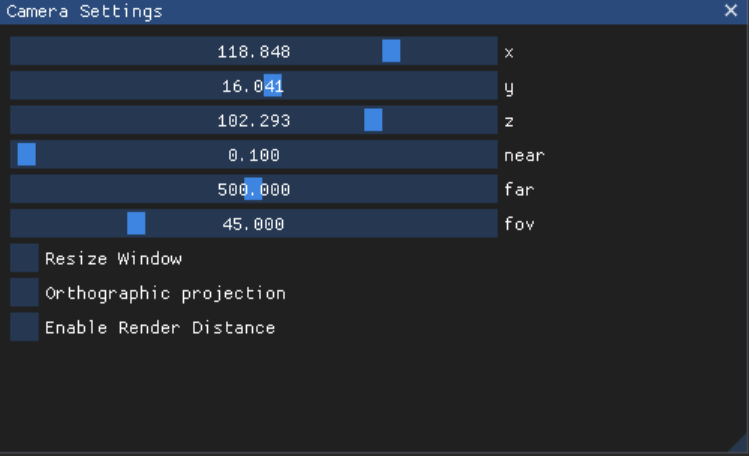
Drag the blue sliders in the XYZ axes boxes to customize camera placement.
Or, click into each box and press Tab to enter values manually

Change the values in the near and far boxes to set specific rendering distance thresholds for scene visibility, in meters (m).

Near Example: You set the near box value to 5.0
As you move your camera closer, models disappear once you reach this threshold
Far Example: You set the far box value to 250.709
This sets the number of meters you can zoom out with the scene still visible
At 250.710 (m), your scene will disappear from view
Change the value in the fov (field of view) box to customize the camera’s wide angle view of a loaded scene.

Check Resize Window to resize the software window.
Change the values in the width and height boxes to set your preferred dimensions

Check Orthographic Projection to represent the 3D render using the existing camera view.
Change the value in the Ortho scale box to shrink or enlarge the projection

Check Enable Render Distance to customize the rendering distance when using the camera.
