Use the Configure Table menu in the Beast Core 6 Search plugin to:
Control the number of columns that display in a search results table
Determine the order in which the columns appear
Group search results by a selected metadata topic
Access the Configure Table Menu
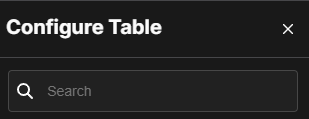
Left click the Configure Table ![]() eye icon in the upper right corner of an active search results table.
eye icon in the upper right corner of an active search results table.
.png)
NOTE
The
button at the bottom of the menu activates when you select a specific table configuration.
Left click the
button to clear a previously applied table configuration.
Configure Table Features
Use the following features to find, show, hide, or reposition the named columns on the search results table:
Search Textbox
Use the Search (magnifying glass) textbox at the top of the Configure Table menu to:
Locate a desired column name (metadata topic)
Streamline the selection process when creating a Custom preset
Select a Preset
Left click the down arrow in the Select Preset textbox to open a drop-down menu of available presets.

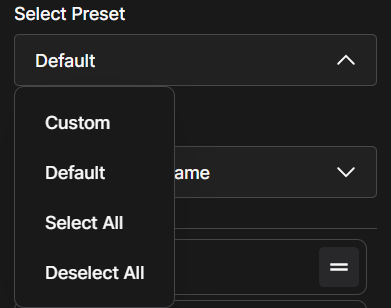
The Default preset shows the (non-configured) search results table with all metadata topics checked as visible to the user.
Create a Custom preset by deselecting (unchecking) one or more column titles.
Manual process:
Scroll down the list of column titles in the Configure Table menu and left click to deselect (uncheck) all undesired columns names
Left click the
 button to view only your selected columns on the updated search results table
Alternate process:
Left click the Deselect All preset to simultaneously uncheck all available column titles
Use the Search textbox at the top of the Configure Table menu to locate the desired column name
After each search, left click to check the select boxes beside each desired column name
After selecting all desired column names, left click the
 button at the bottom of the Configure Table menu
The customized search results table updates to show only the requested columns
(1).gif)
Left click and apply the Select All preset to check the select boxes of all listed column names simultaneously.
Left click and apply the Deselect All preset to uncheck the select boxes of all listed column names simultaneously.
Group By a Selected Field
On the Configure Table menu, left click the down arrow in the Select Column Name textbox below the Group By heading.

When the Group By drop-down menu opens, left click the metadata topic that will define each subgroup.
.png)
Left click the
 button at the bottom of the menu.
The search results table updates to display all results in labeled subgroups based on the selected metadata topic.
EXAMPLE:
Grouping by “Manufacturer” creates subgroups with headings for each unique manufacturer identified in the Manufacturer column of the search results table
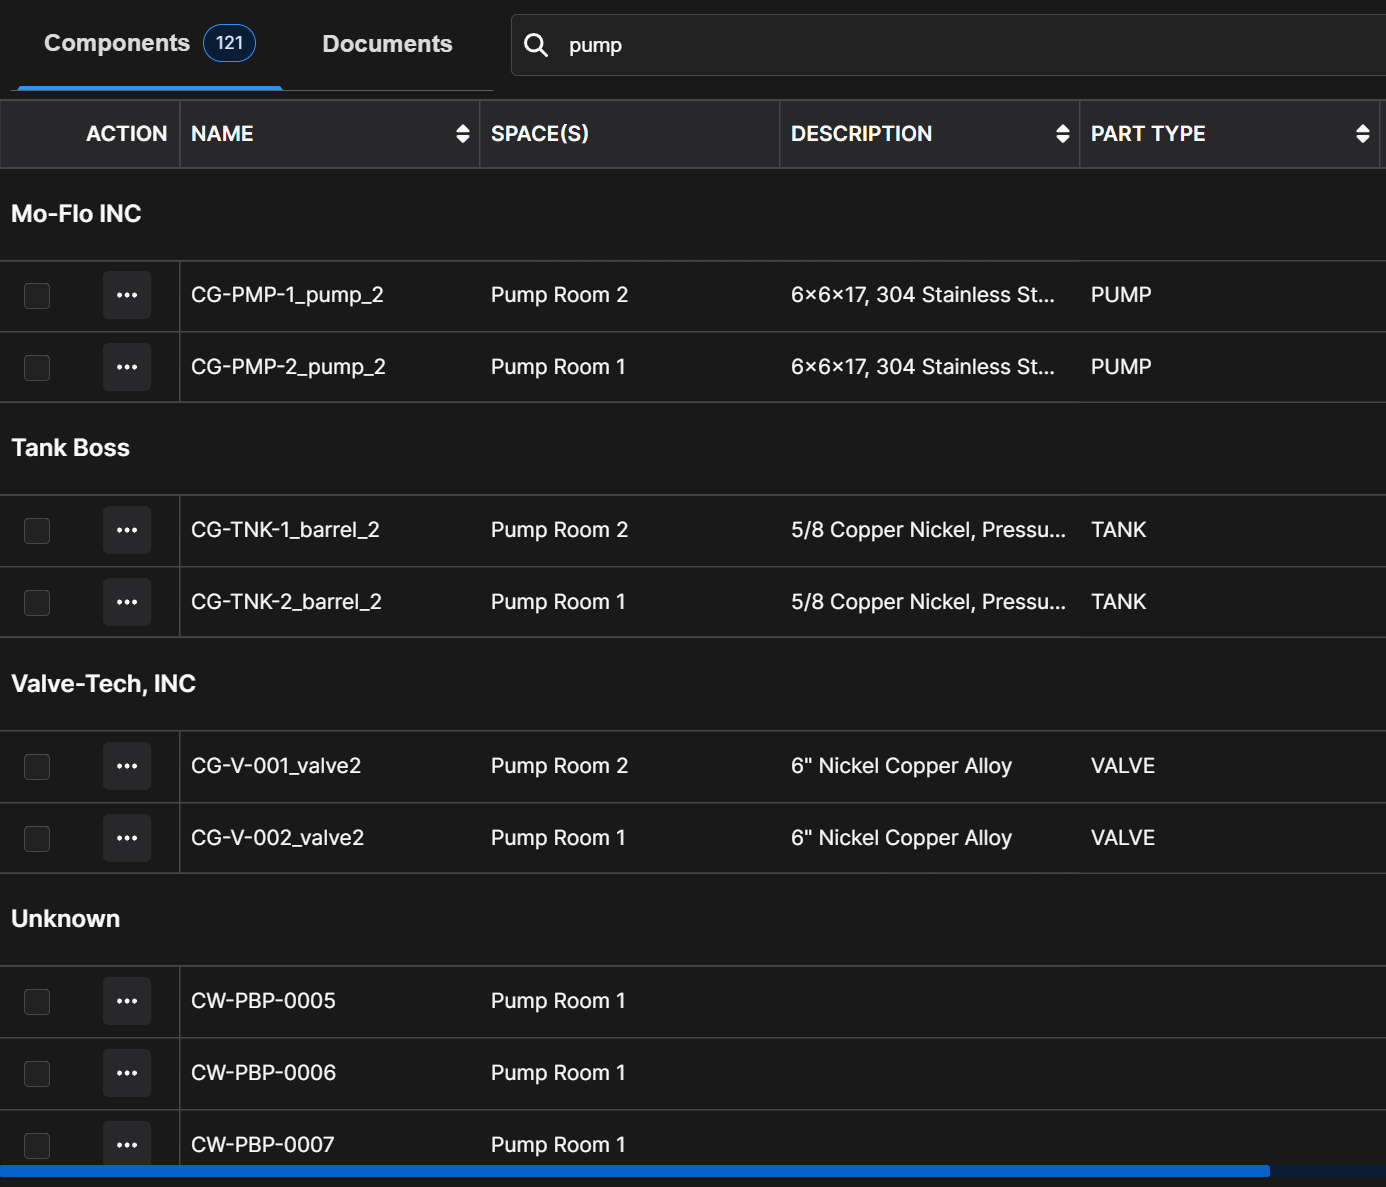
NOTE
Search results with no entry in the selected Group By column will display below a subgroup heading labeled Unknown.
Reorder Columns on the Search Results Table
The lower part of the Configure Table menu displays column titles in the order columns will appear on the search results table (beginning in the far left column and extending to the right).
Only checked (selected) columns display on the search results table
To change the order of the checked column titles, left click and drag an individual column name textbox to a desired location.
Repeat Step 2 until all checked columns are listed in the desired order, then left click the
 button.
The updated search results table displays columns in the configured order.
NOTE
If desired, use the Filter feature to reduce the number of unique results (table rows) on your active search results table.
See the Filter Search Results article for additional information