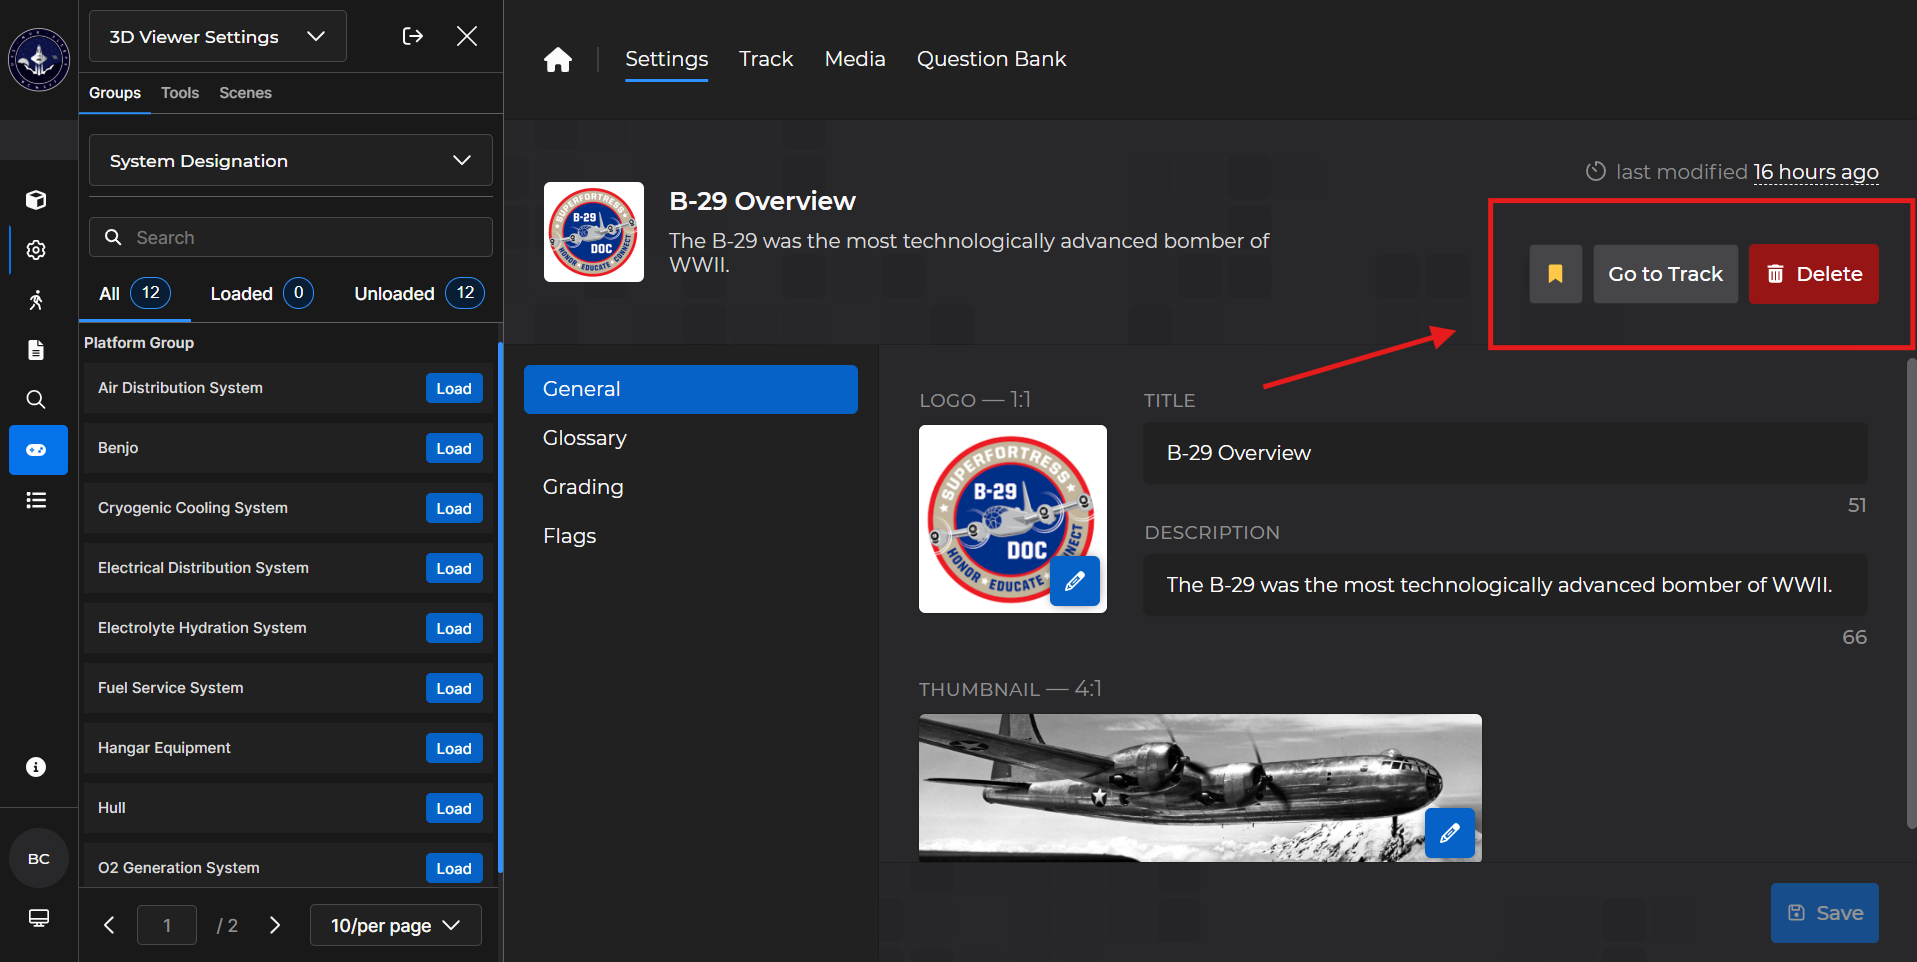
Use the ![]() button on the Learning Dashboard to edit an existing lesson. This brings you to the Settings tab, where you can
button on the Learning Dashboard to edit an existing lesson. This brings you to the Settings tab, where you can ![]() bookmark the lesson,
bookmark the lesson, ![]() to view the lesson track,
to view the lesson track, ![]() the lesson, and more.
the lesson, and more.
Settings Options
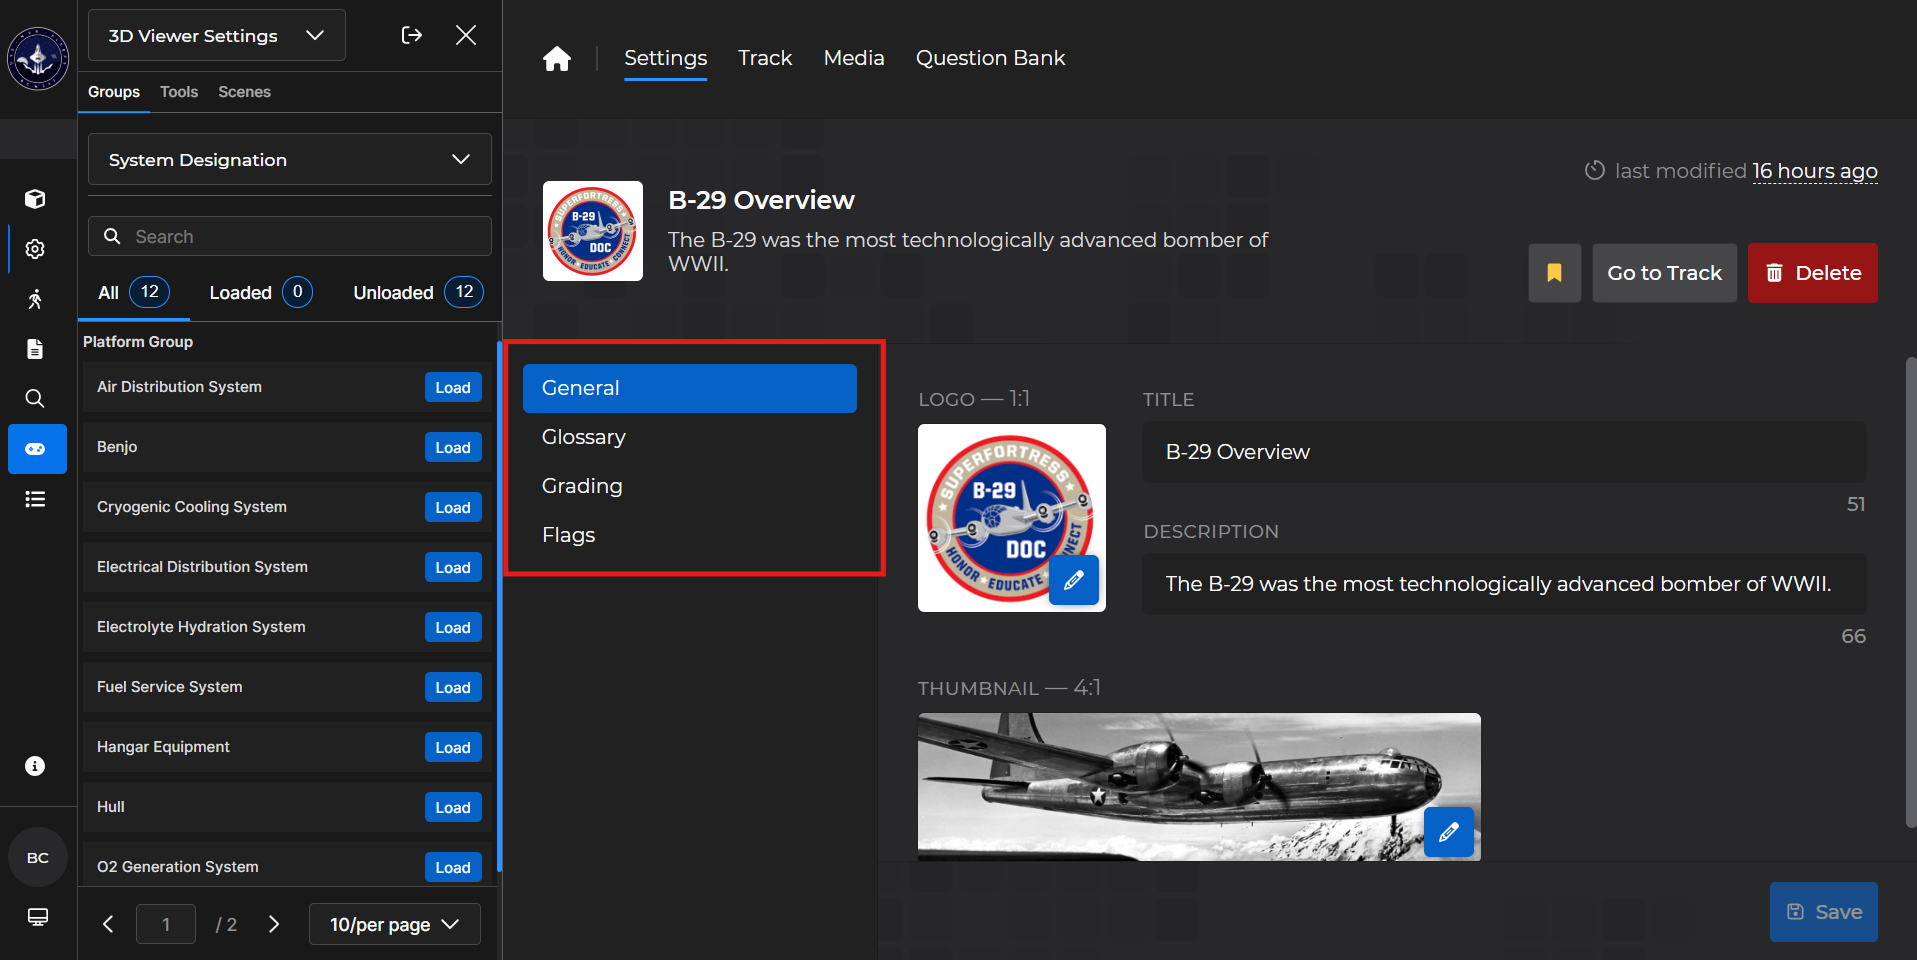
General
Select the (default) General settings option to update a lesson’s logo, title, description, and thumbnail.
NOTE
The max character count for the Title is 64, and 116 for the Description. As you edit it, the characters count down accordingly.
.png)
To update the Logo and/or Thumbnail:
Select the image.
.gif)
Left click one of the previously uploaded images.
OR left click
 to select an image stored on your device
.gif)
Left click
 to update the logo and/or thumbnail.
NOTE
To close the image selection window, left click the
icon in the upper right corner.
Once the changes are completed, click
 in the bottom right corner of the screen to update the lesson.
Glossary
The Glossary settings option allows you to create a list of terms accompanied by their definitions to use in the lesson.
To add new terms:
Type a glossary term into the Term box.
Type a definition into the Definition box.
Left click
 .
.
.gif)
NOTE
In an empty Glossary, you also have the option to
terms from an existing lesson:
.gif)
Once terms are added to the Glossary, you have the option to Edit or Delete them.
To edit terms:
Left click the desired term(s) in the list.
The
 and
and  buttons brighten and update as soon as a term is selected
Left click Edit in the bottom right corner of the screen.
Update the Term(s) and/or Definition(s).
Left click
 .
.
OR left click
 to return to the Glossary list
.gif)
To delete terms:
Left click the desired term(s) in the list.
The
and buttons brighten and update as soon as a term is selected
Left click Delete (#) selected in the bottom left corner of the screen.
.gif)
Grading
The Grading settings option shows the:
Total number of points available in your lesson track
Total number of graded cards
Percentage required to pass the course
By default, the pass message reads “Congratulations, you've passed the course!” and the fail message reads “You did not meet the threshold to pass the course.”
To edit the messages and/or score to pass:
Left click inside the appropriate box.
Edit the content by either adding or removing text.
For the “Score to Pass” section, you can also use the arrows next to the percentage to edit
Click
 in the bottom right corner.
.gif)
Flags
The Flags settings option allows you to add, edit and/or delete the flags that are available on the lesson track.
To add new a new flag:
Type the flag into the Name box.
Left click
 .
.
.gif)
To edit existing flags:
Left click the desired term(s) in the list.
The
and buttons brighten and update as soon as a term is selected
Left click Edit in the bottom right corner of the screen.
Update the flag(s).
Left click
.
OR left click
to return to the flag(s) list
.gif)
To delete flag(s):
Left click the desired flag(s) in the list.
The
and buttons brighten and update as soon as a term is selected
Left click Delete (#) selected in the bottom left corner of the screen.
.gif)