Use the Geometry Processor editing tool in Beast Core 6 to upload and manage the model and component files that make up your platform.
Launch the Geometry Processor
Select the Geometry Processor editing tool icon
 on the far-left side of the screen.
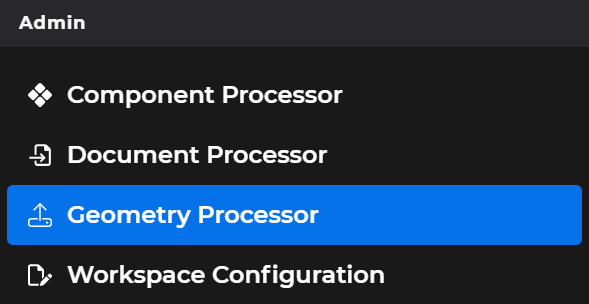
 Or select Geometry Processor in the left-hand navigation pane’s Admin section
When no geometry files are currently stored, the Geometry Processor displays a Begin Uploading message and an
 button in the middle of the Process Geometry window.
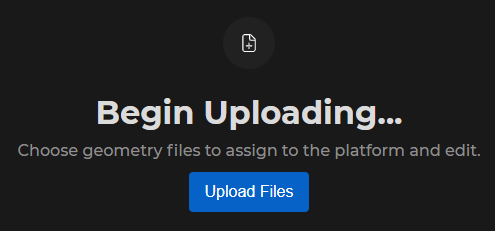
If the Geometry Processor editing tool contains previously saved geometry files, it opens on the (default) Current Uploads tab.
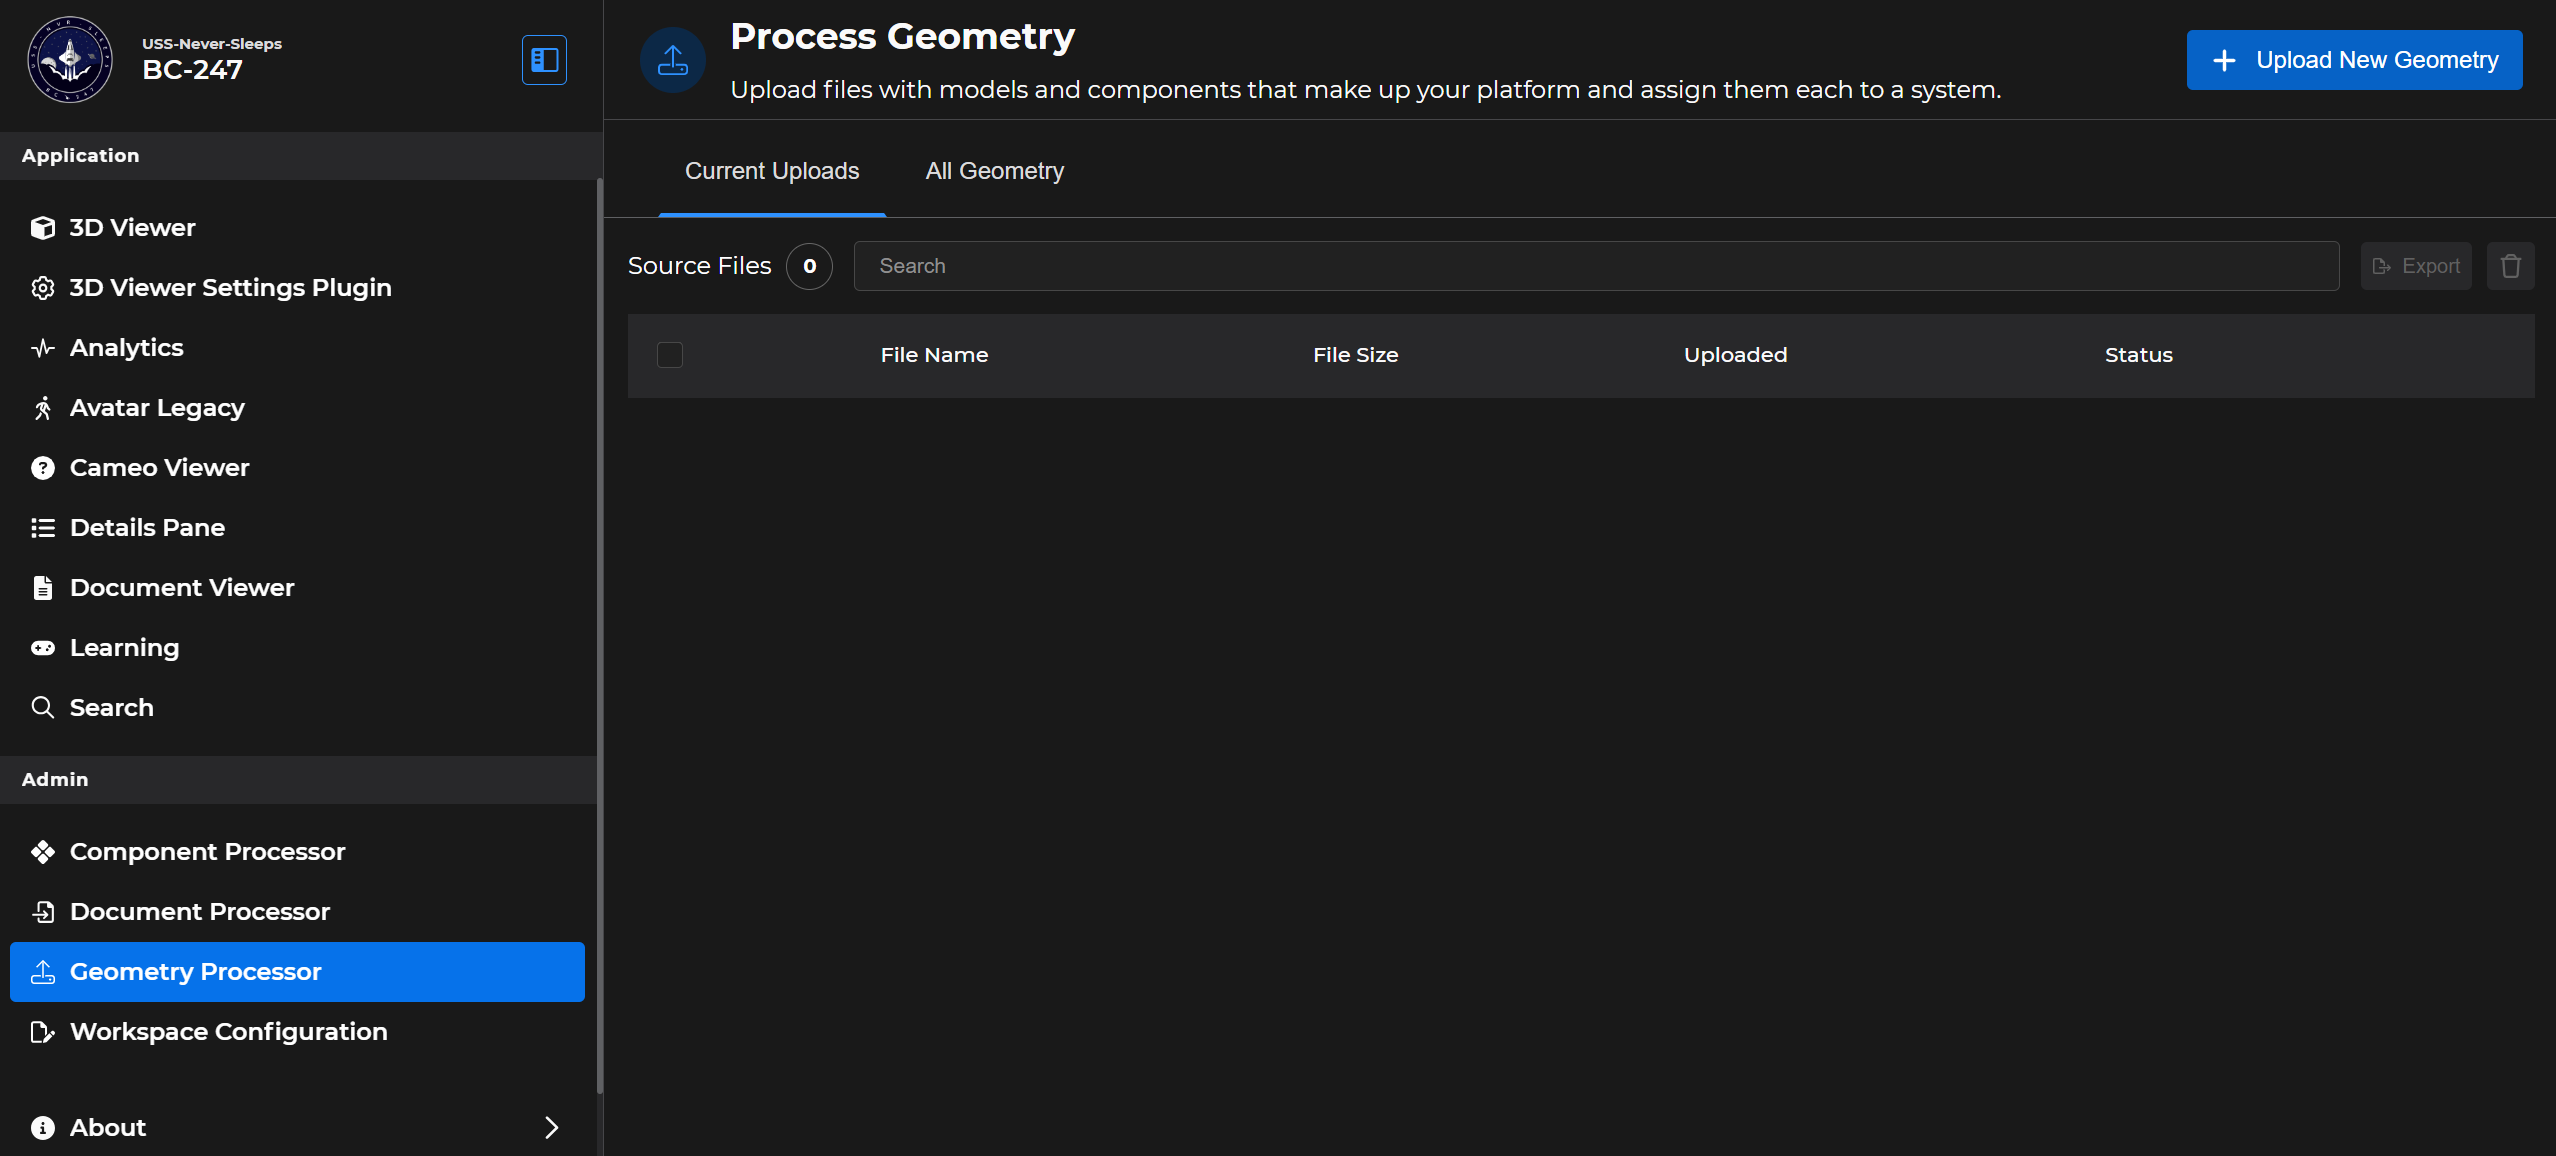
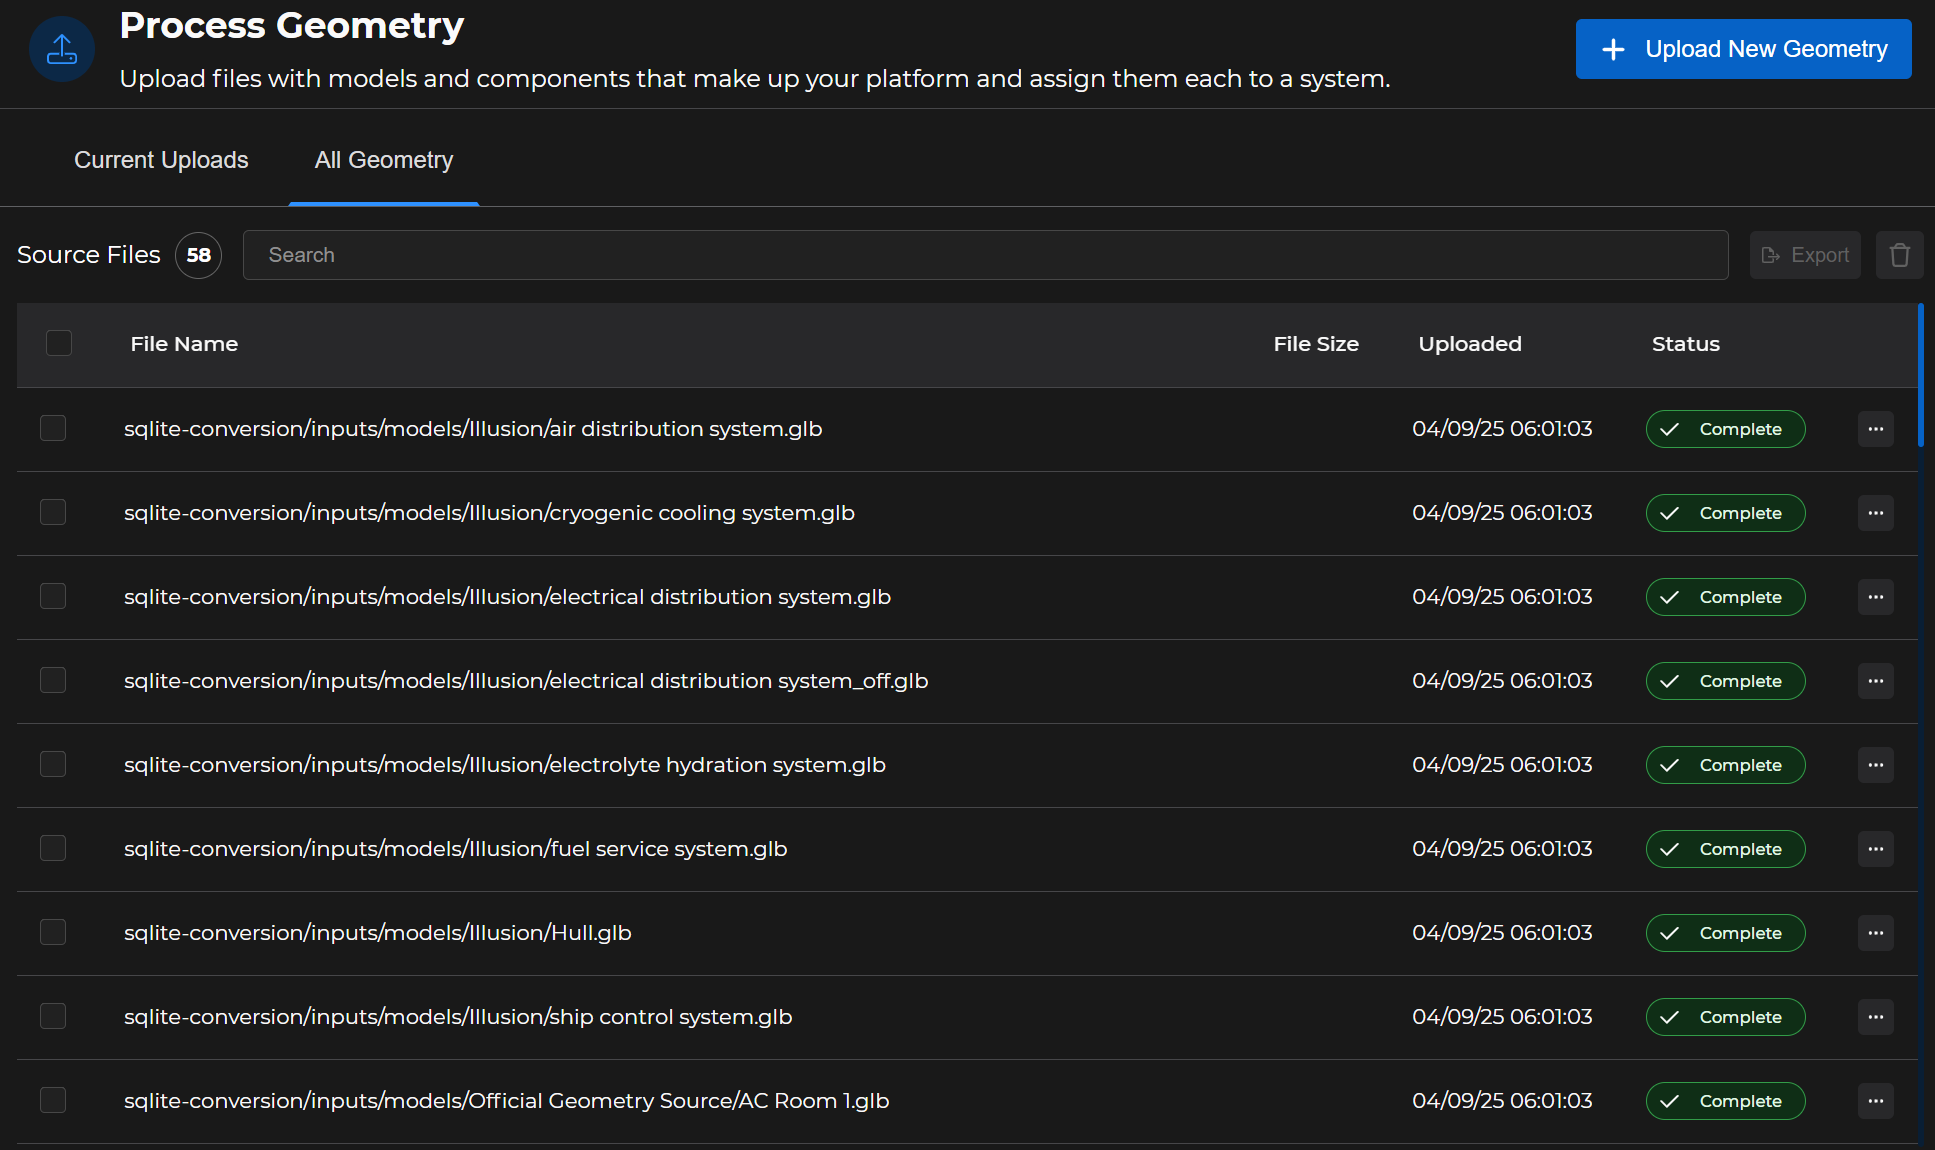
Select the All Geometry tab to view all previously uploaded files
Geometry Processor Features
Upload Files and + Upload New Geometry buttons
Left click the
 button below the Begin Uploading message to add an initial file to the Geometry Processor
Left click the
 button in the upper right corner to upload additional geometry files
Search feature
Use the Search textbox to find specific files already uploaded to the Geometry Processor
.png)
Delete feature
Left click the trash bin icon to delete selected file(s)

Export button
Currently serves as a placeholder for future functionality
Main Screen Columns

Select Boxes (unnamed column) - Allows users to left click to select one or more files
File Name - Lists the names of uploaded files
File Size - Displays the size of each upload file
Uploaded - Displays each stored file’s upload date and time
Status - Displays the upload progress of the file (Uploading, Error, Complete)
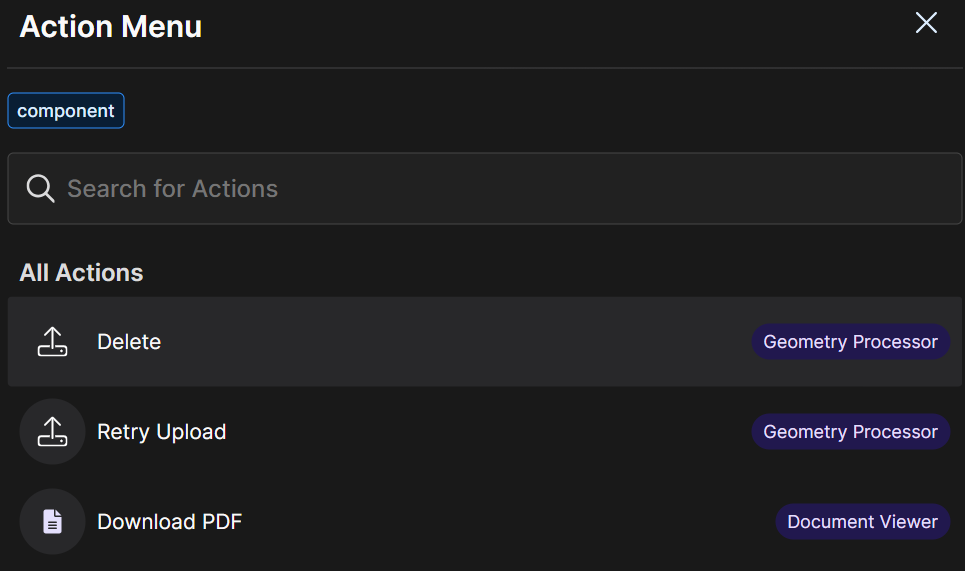
Actions (unnamed column) - Provides access to a pop-up Action Menu
Click the Ellipsis
 icon in a file’s row
Choose your desired Action Menu option:
Delete - An unwanted file
Retry Upload - After a failed upload attempt
Download PDF - Add support documentation for a selected geometry file