The Geometry Processor editing tool in Beast Core 6 allows you to upload your own 3D data files and assign each to a specific system. View the list of all uploaded systems and component groups on the 3D Viewer Settings plugin’s Groups tab.
Uploading Instructions
Select the Geometry Processor editing tool icon
 on the far-left side of the screen.
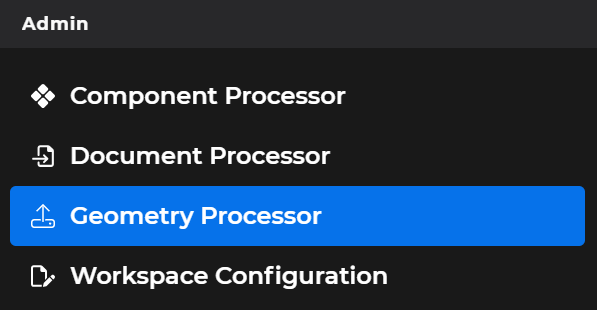
Or select Geometry Processor in the left-hand navigation pane’s Admin section
Select either:
The
 button below the Begin Uploading message
 Or the
 button in the upper right corner of the Process Geometry window
Select Browse Files in the Upload Geometry pop-up window.
Choose your desired file, then select Next

Accepted File Types:
.fbx / .fbx.gz
.gib / .gib.gz
.obj / .obj.gz
.3d / .3d.gz
.3ds / .3ds.gz
The Status column now shows that your file is Uploading.
During this time, the server:
Breaks the uploaded model into individual models
Makes each loaded model a component and assigns it to a default system named Default
Uses an Instancing optimization feature to:
Create an original LOD model (i.e., the LOD zero model)
Create additional LOD models (LOD1, LOD2, LOD3, LOD4) to facilitate the 3D Viewer
NOTE
These LOD models allow the system to change the fidelity of a loaded model based on distance.
The higher the LOD number, the lower the quality of the model
If the Status column displays the word Error during your attempted upload, follow the instructions on the error message to resolve the issue.
When the Status column displays the word Complete for your uploaded file:

All new file uploads are automatically assigned to a generic system named Default
Rename your newly-added item right away to avoid later issues and confusion
See the Change Assigned System Names article for additional information
Repeat Step 6 for each uploaded file.
View Uploaded 3D Models in the 3D Viewer Plugin
Open the 3D Viewer Settings plugin by either:
Clicking the far-left cogwheel
 icon
iconSelecting 3D Viewer on the left-hand navigation pane’s Applications section
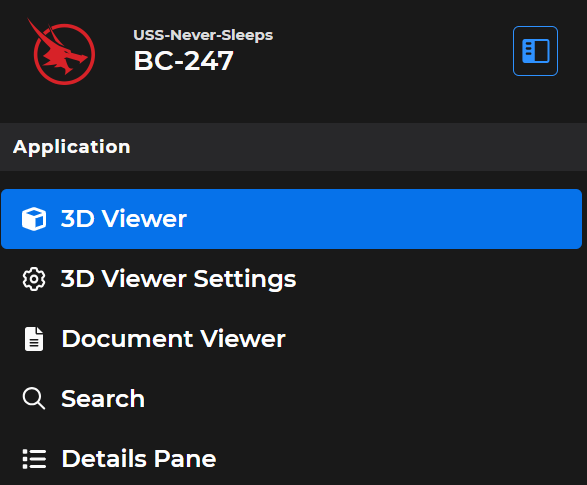
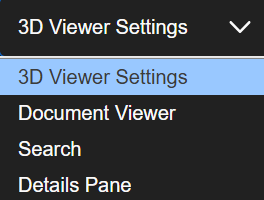
Or selecting 3D Viewer Settings in the drop-down menu at the top of the left-hand content pane
When the (default) Groups tab loads:
Locate your newly uploaded system in the Unloaded section
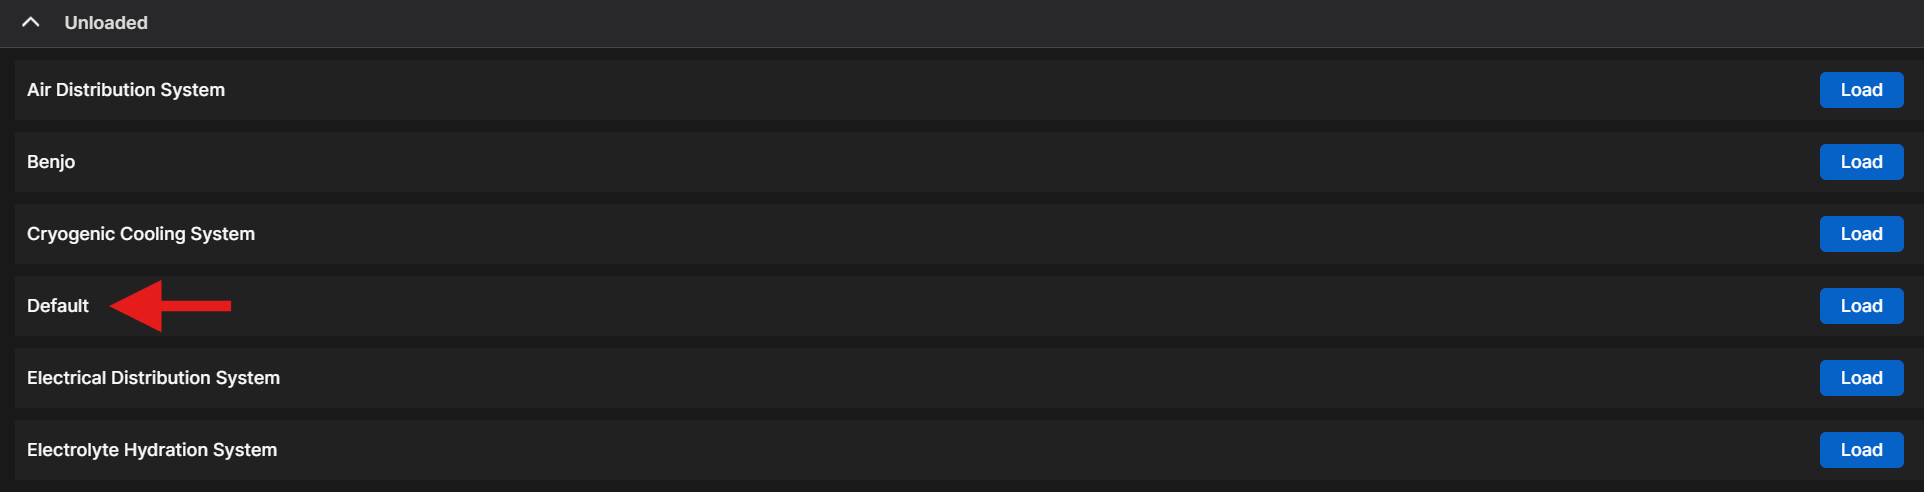
The system name will either be Default or the name you changed it to via the Component Processor plugin’s Export to CSV/Import From CSV feature.
NOTE
System or component group names display alphabetically below the category headings Custom Groups and/or Platform Groups and below the subheadings Loaded and/or Unloaded.
Refer to the Change Assigned System Names article for more information
Select the Load button to the right of the system name
Within seconds, your requested 3D Model loads into the interactive 3D Viewer