You can find the length of an area within a selected Model in the LSV Prototype by using the Measuring Tool to designate “Track line start” and “Track line end” parameters for the measurement.
Utilizing the Measuring Tool
Click the arrow beside Measuring Tool to expand this menu section (if needed), then check the Enable Measuring Tool box.

NOTE
Either follow Steps 2-3 to set the start and end points of your Track Line by clicking on your Model, or follow Step 4 to set your Track Line’s start and end points manually.
Check the Track Line Start box, then use your mouse to click your selected starting point on the Model.

Check the Track Line End box, then use your mouse to click your selected end point.

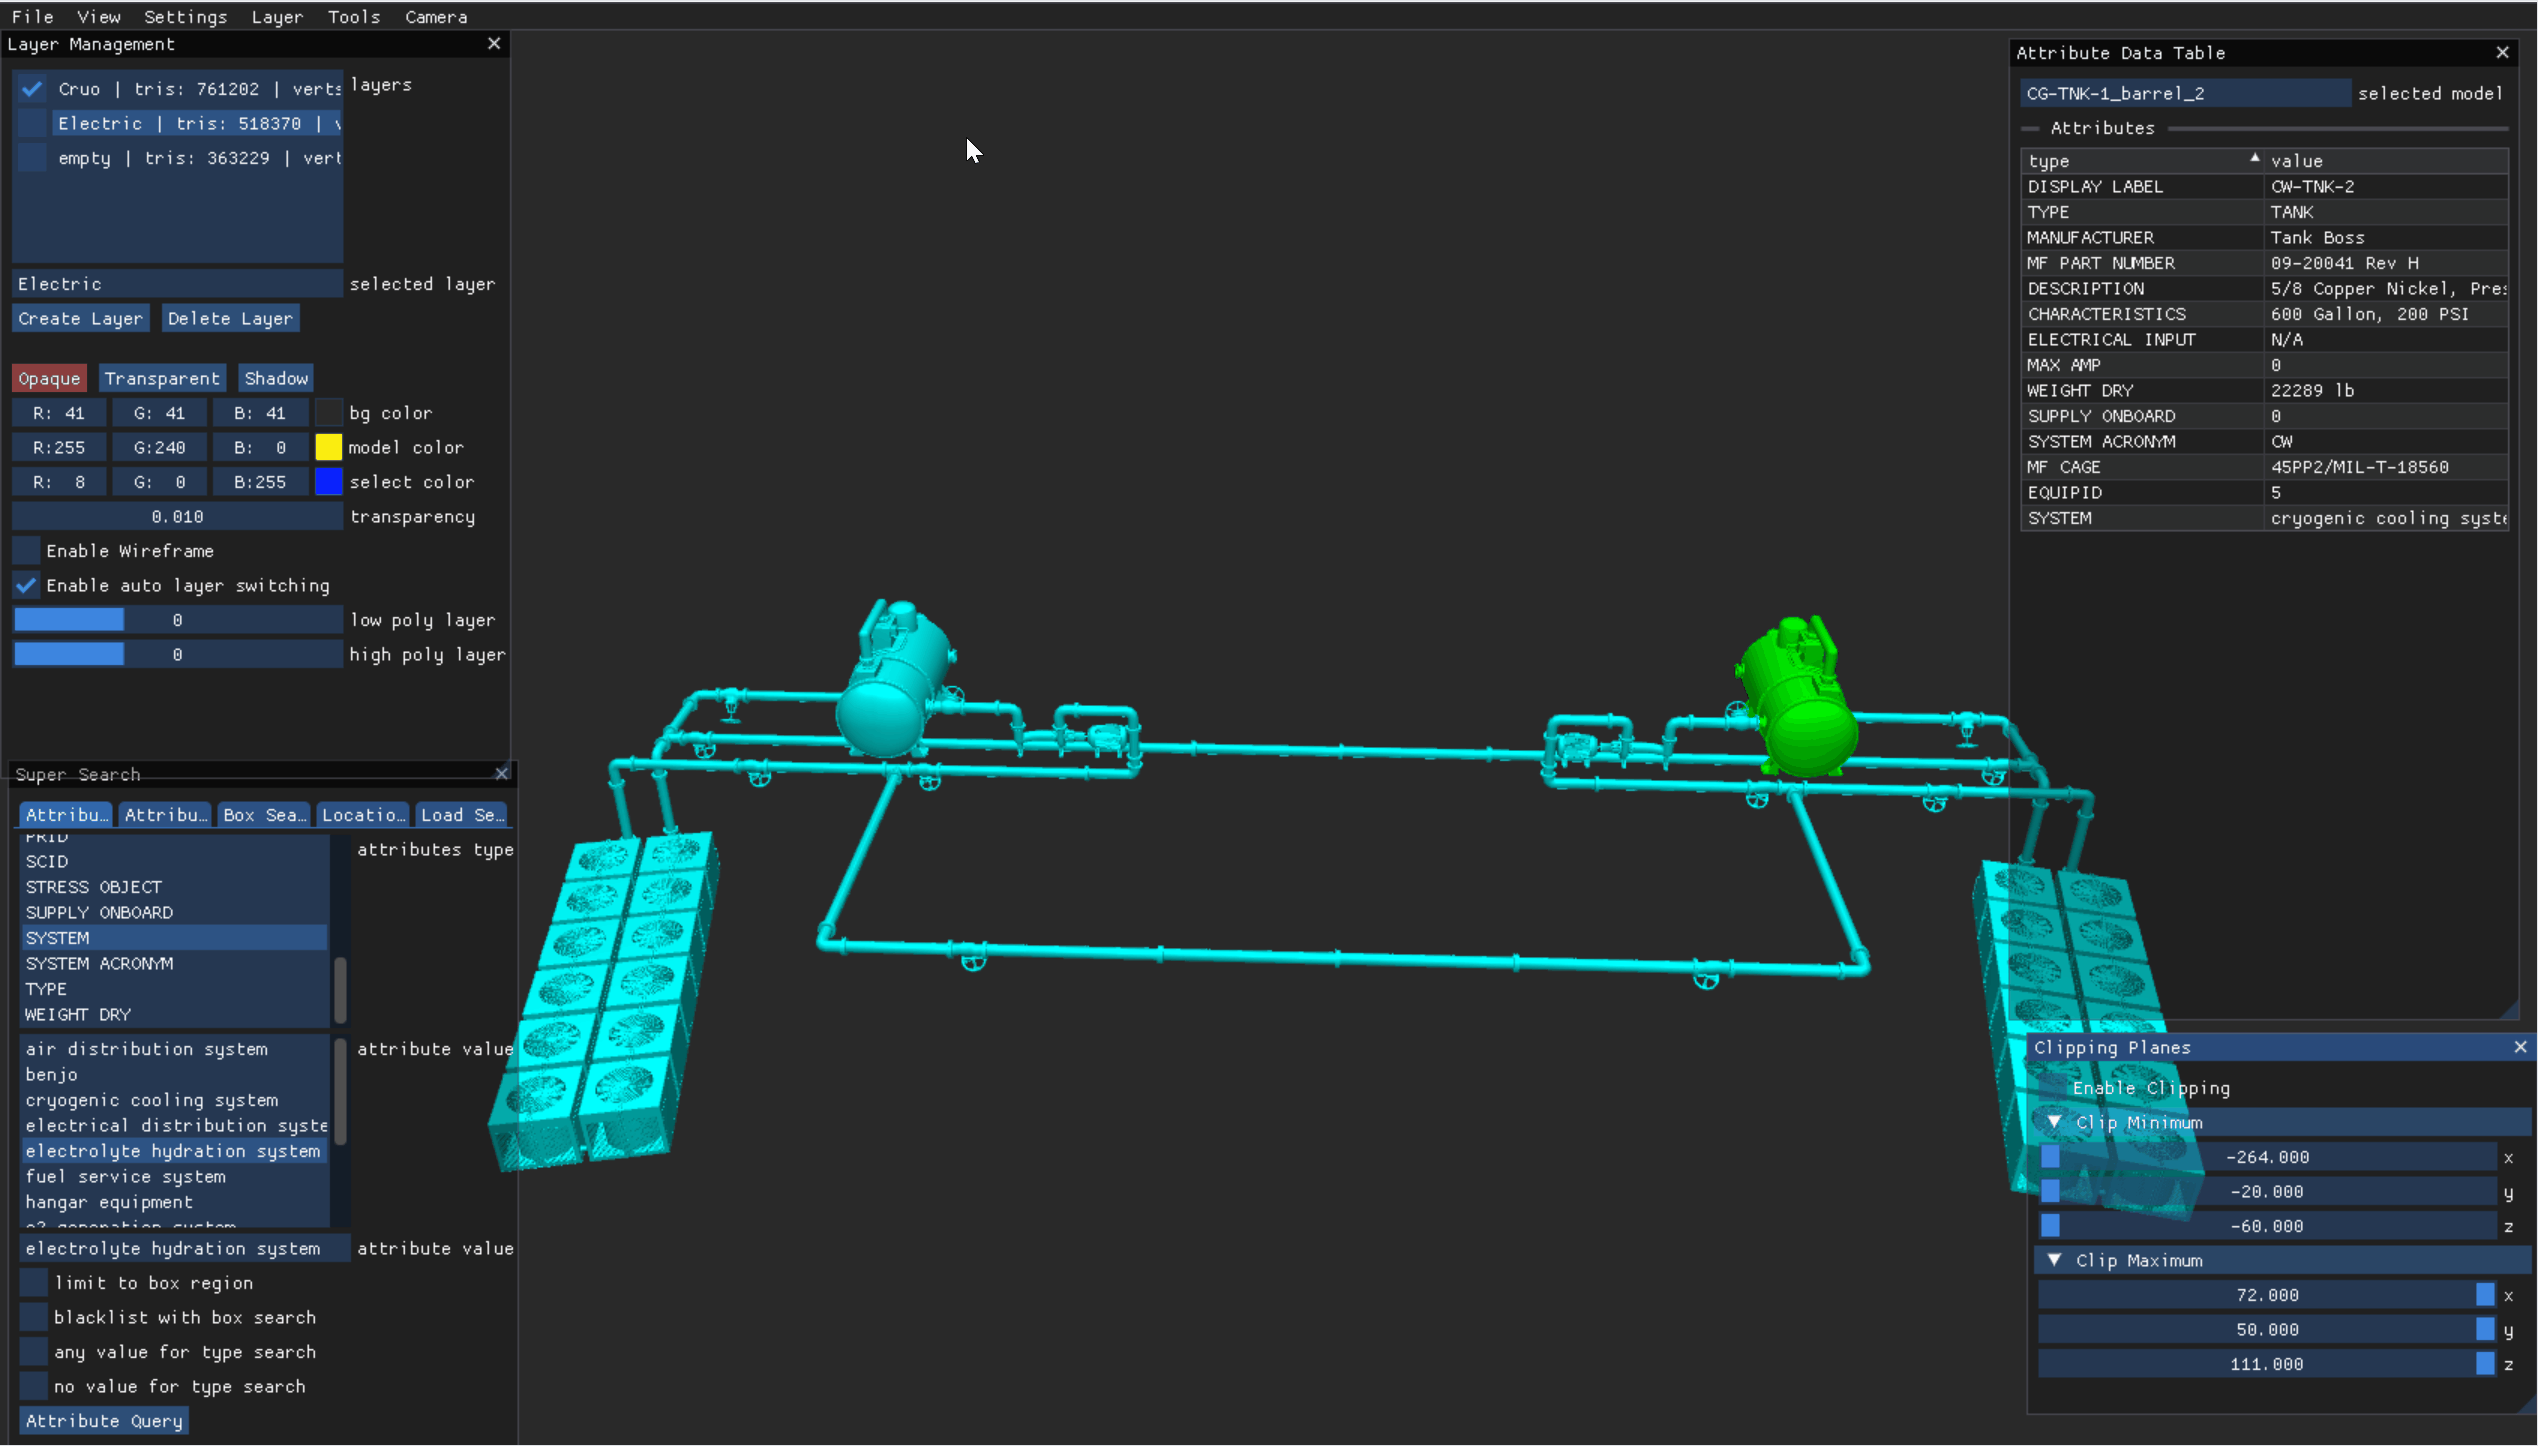
As an alternative to Steps 2-3, you can click the arrows beside the Measure Start and Measure Destination boxes and manually enter your desired start and end Track Line in the X, Y, Z boxes.

Click and drag the small blue sliders to select your desired X, Y, Z values
Or, left click inside these boxes, press Tab, then type in the X, Y, Z values for Measure Start and Measure Destination
NOTE
The start. t option in the Measure Start section only appears below the start. X, Y, Z boxes when you select the Track line start option.

Ray interpolation parameter
If you disable depth, it will intersect a ray with the bounding box. You can control this ray intersection manually.
The meter (m) and foot (ft) length calculations (for the measurement Track Line you created) will display just below the Measure Destination section.
