Use Layer Management in the LSV Prototype to customize the loaded layers in your current Session.
Using Layer Management
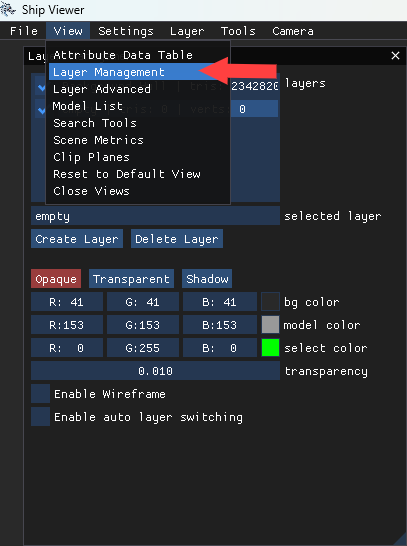
The Layer Management view opens by default when launching LSV Prototype. In case you’ve closed it, click on View → Layer Management in the top navigation bar.
Elements of the Layer Management Window
.png)
We’ll discuss each element from top to bottom as shown in the screenshot above.
Layers
Lists all layers in current session
Use the check boxes on the left to hide or show each layer
Selected Layer
Text box that shows the name of the currently selected layer
Create Layer
Select this button to create a new layer
Opens new layer with no data
Name the new layer in the Selected Layer box
Delete Layer
Select this button to delete the currently selected (highlighted) layer
Layer Customization
Select the check box next to the layer you want to customize
Ensure no other layers are checked
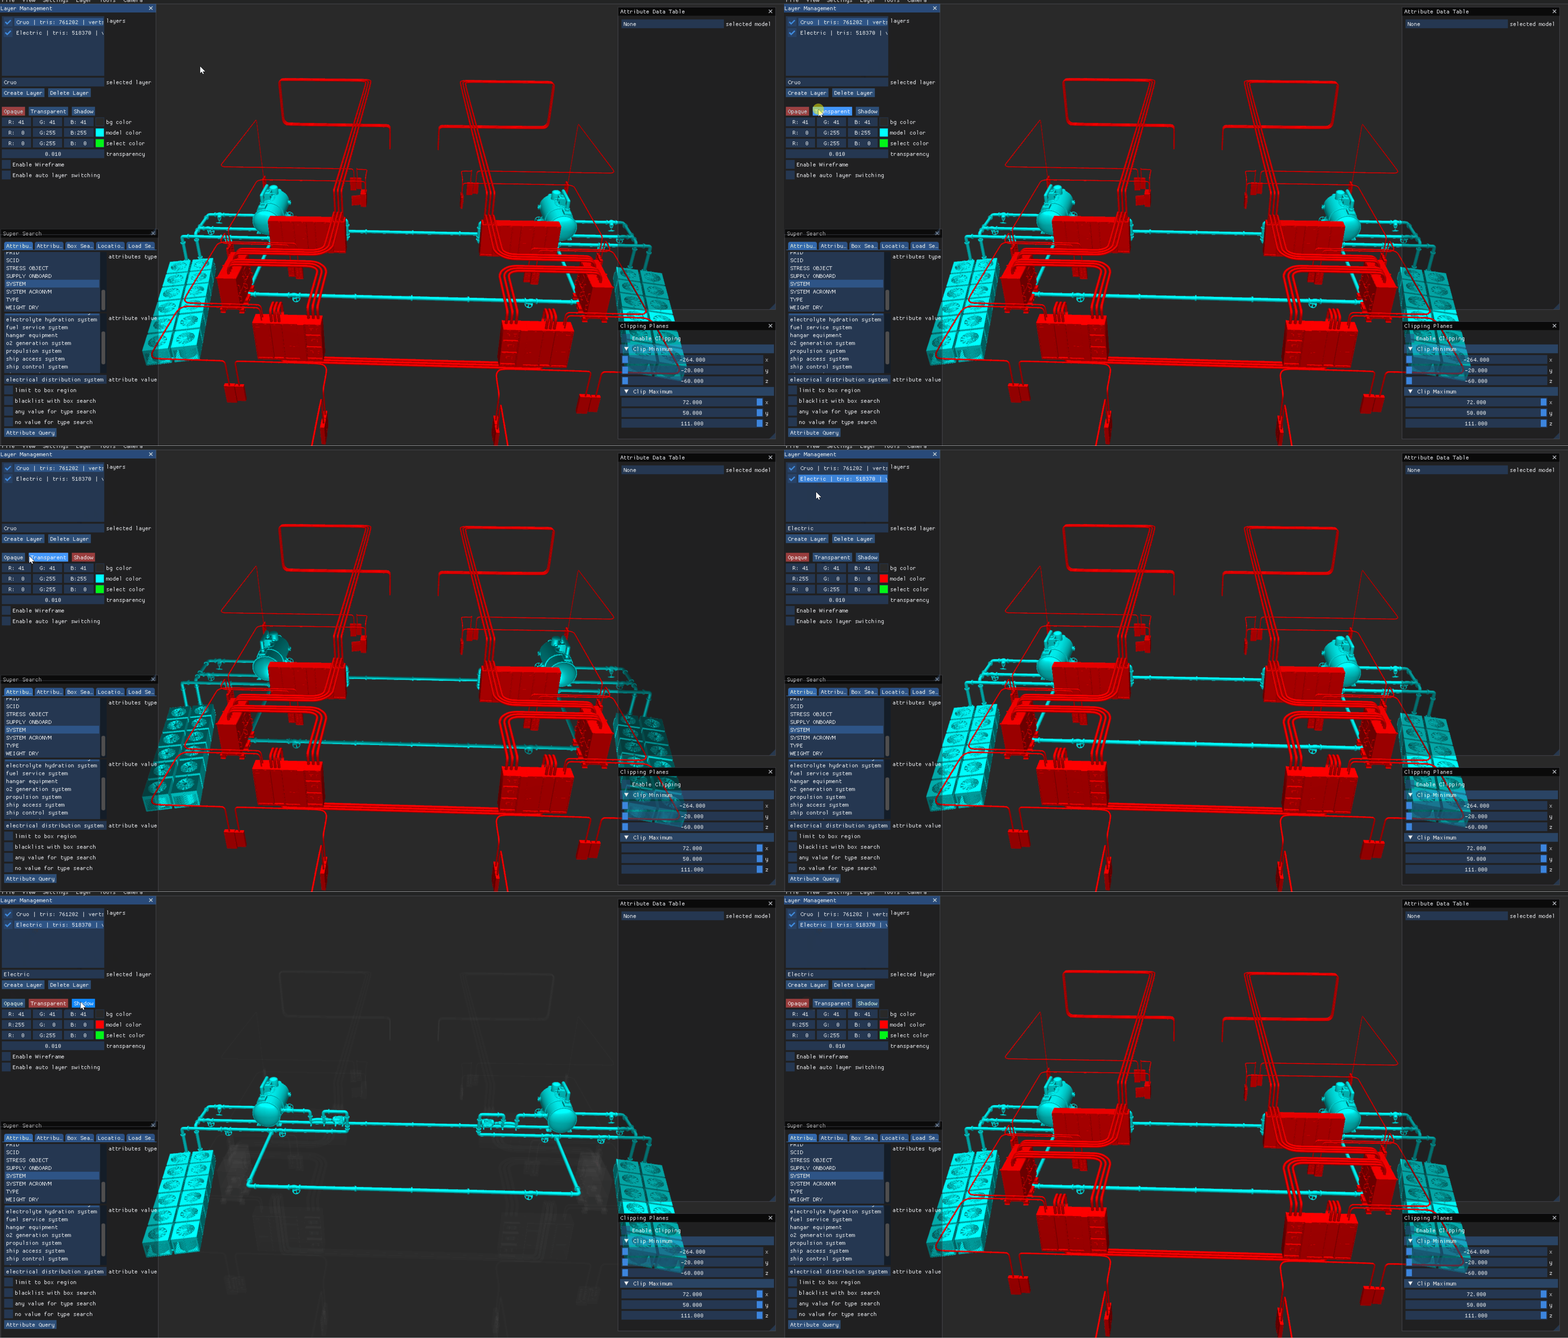
Choose between the following options for the layer
Opaque: A solid model that is not transparent
Transparent: Allows you to see through the model
Shadow: Provides shadow effects mimicking light
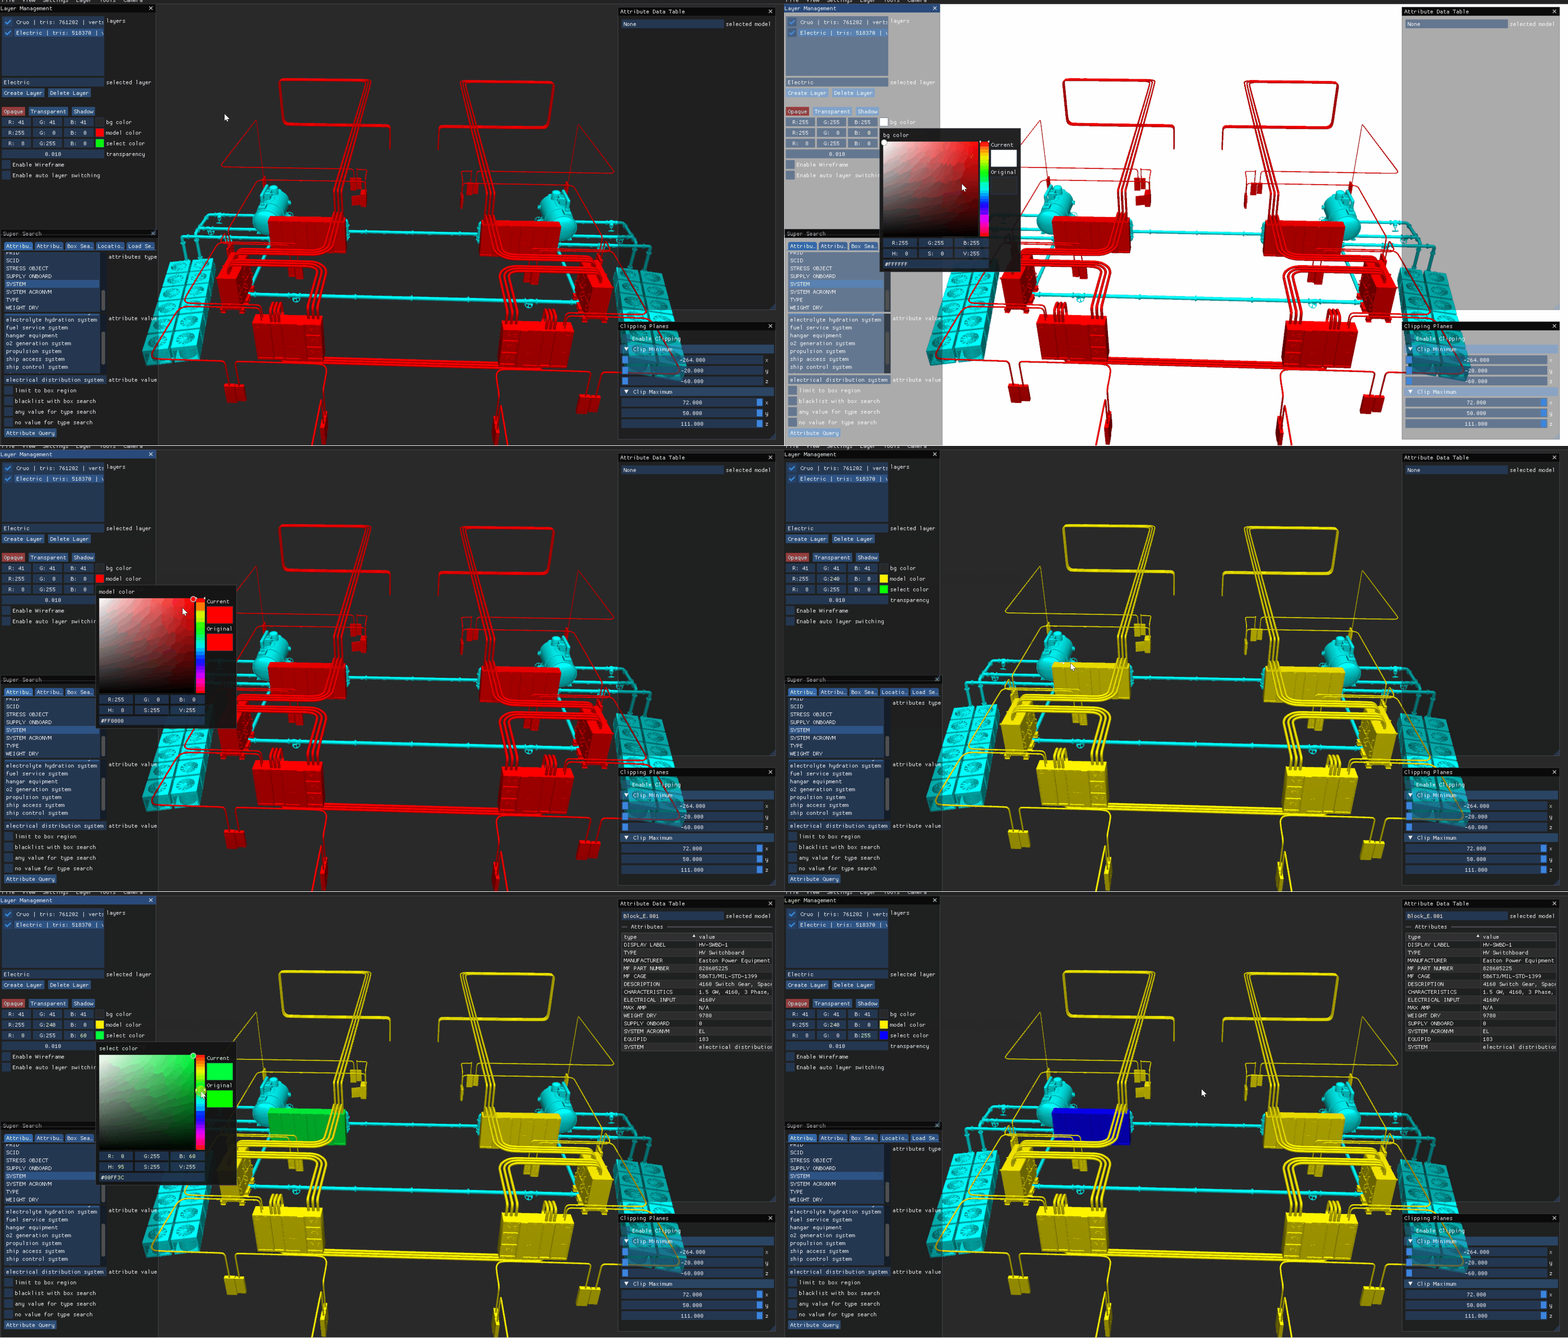
Background, Model, and Select Color Customization
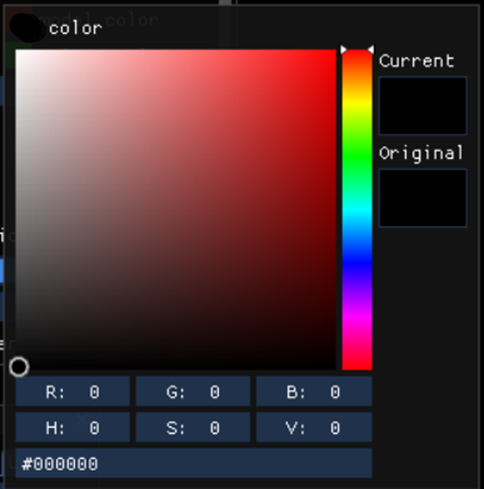
BG (Background) color: Customize the color of your background
Model color: Customize the color of the selected layer
Select color: Customize the color of the selected model
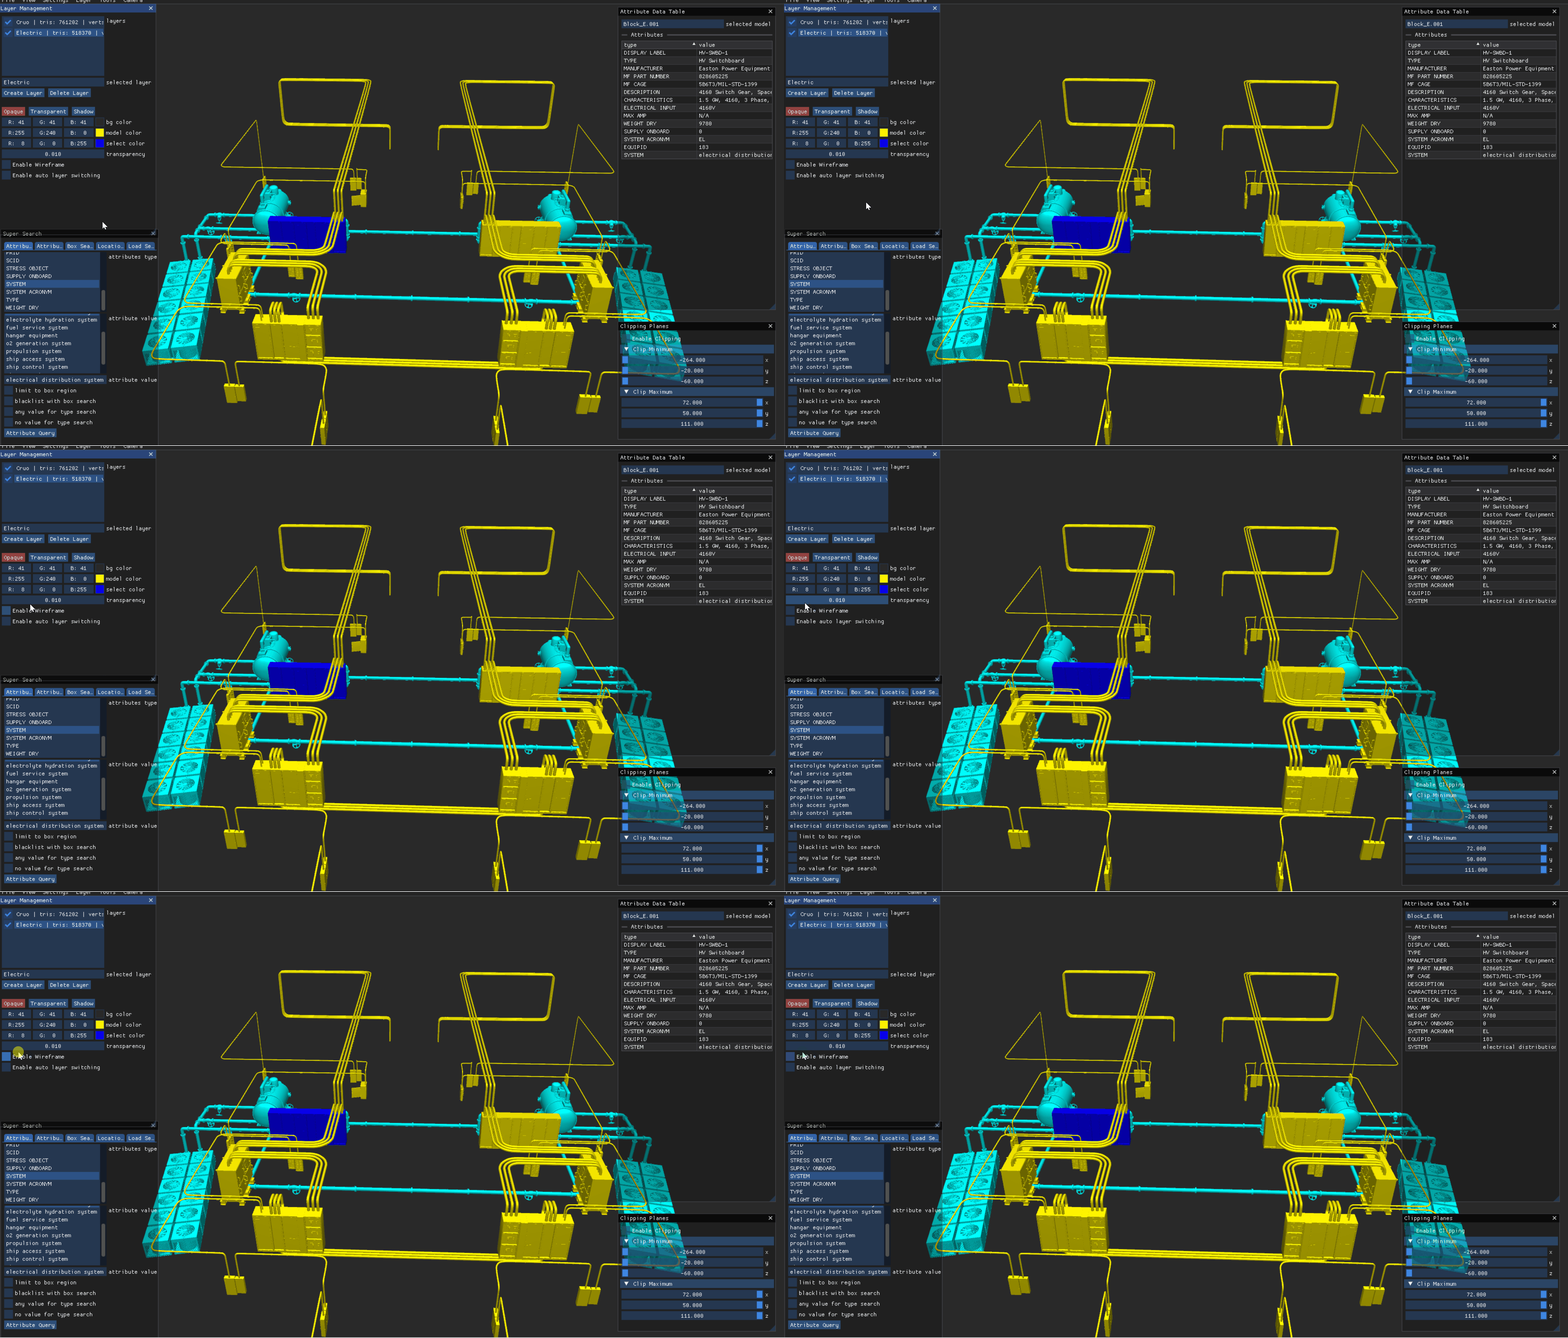
Enable Wireframe
Check or uncheck this box to enable or disable the wireframe
Check to enable 3D render lines
Uncheck to disable 3D render triangles
Auto Layer Switching
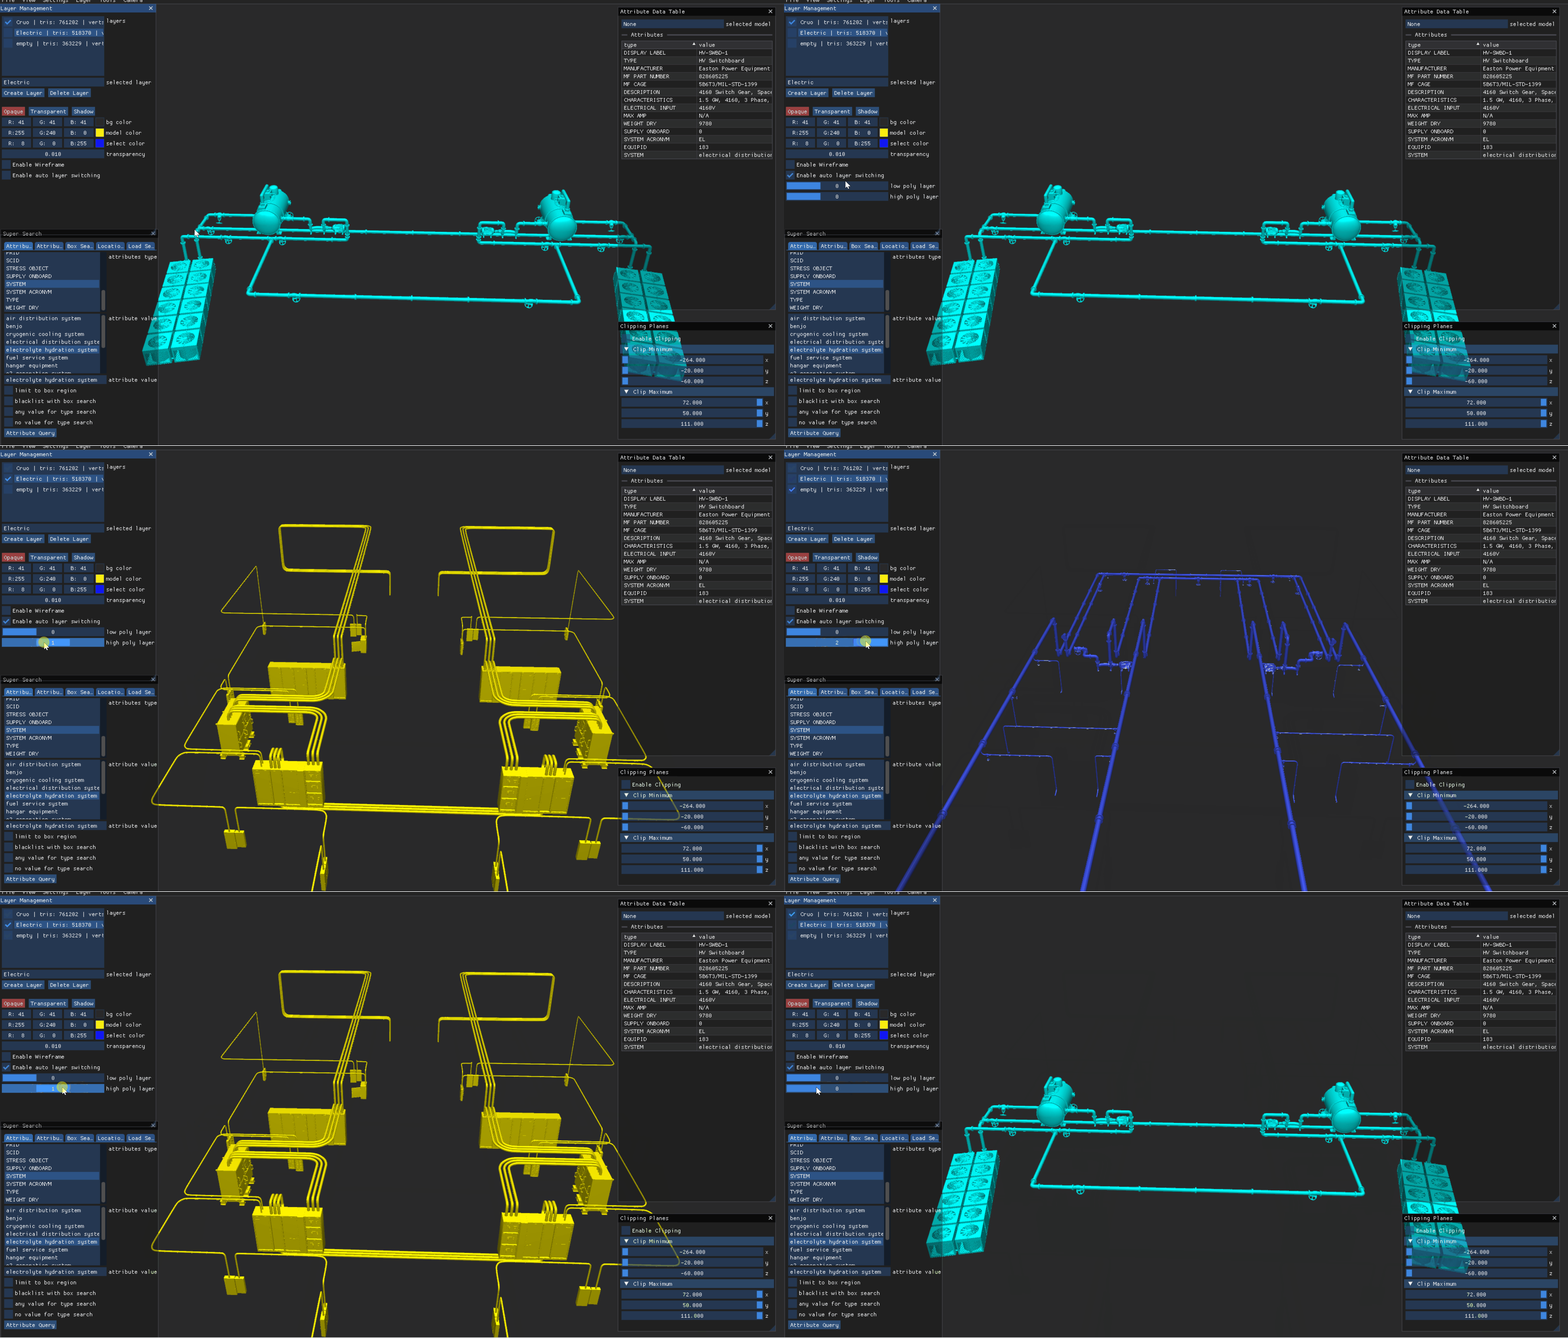
Switch layers between a low poly layer and a high poly layer as your camera moves
In the Layer Management window, check Enable Auto Layer Switching and select a low poly layer and high poly layer to switch from using the slider bar next to each option
The layers are in numerical order from top to bottom based in the Layers window
