Access Action Menu options in the 3D Viewer, Details Pane, Search, and Document Viewer plugins to explore modeled components or related documentation in greater detail. Beast Core automatically opens the associated plugin (unless already open) and performs your requested action.
Where to Access Action Menus
In the 3D Viewer
Load your desired Component Groups into the 3D Viewer on the 3D Viewer Settings plugin → Groups tab.
Left click the
 color palette beside a loaded Component Group to access color options
When your 3D Model loads, left click to select a desired component.
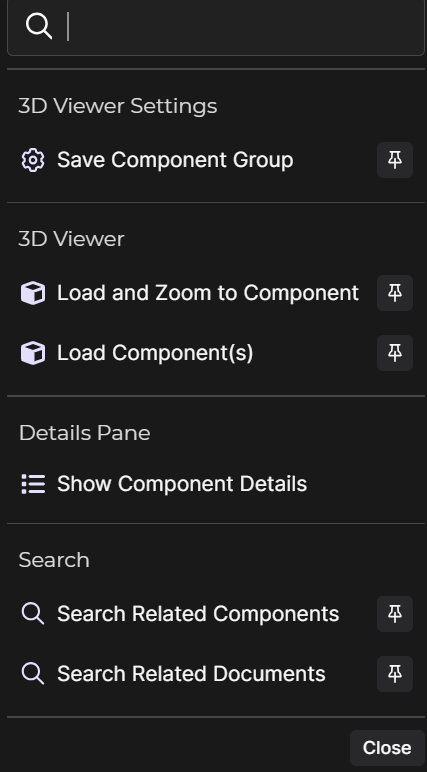
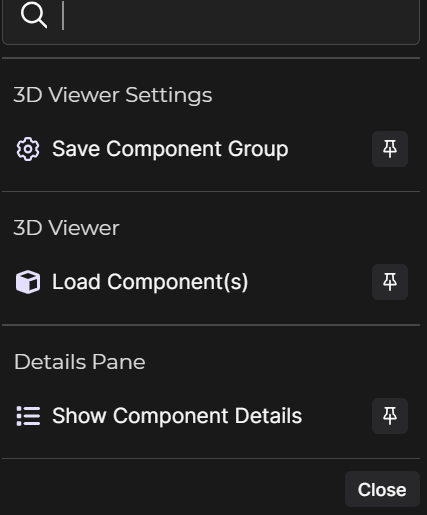
Right click the highlighted component to display the Action Menu.
(1).gif)
In the Details Pane
On the Connections ![]() tab:
tab:
Left click the Ellipsis button to the right of a listed connection to open its Action Menu

On the Documents ![]() tab:
tab:
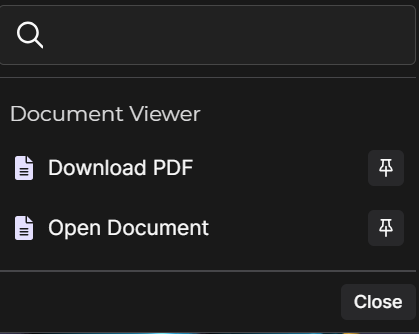
Left click a listed document title to open the Action Menu

In the Search Plugin
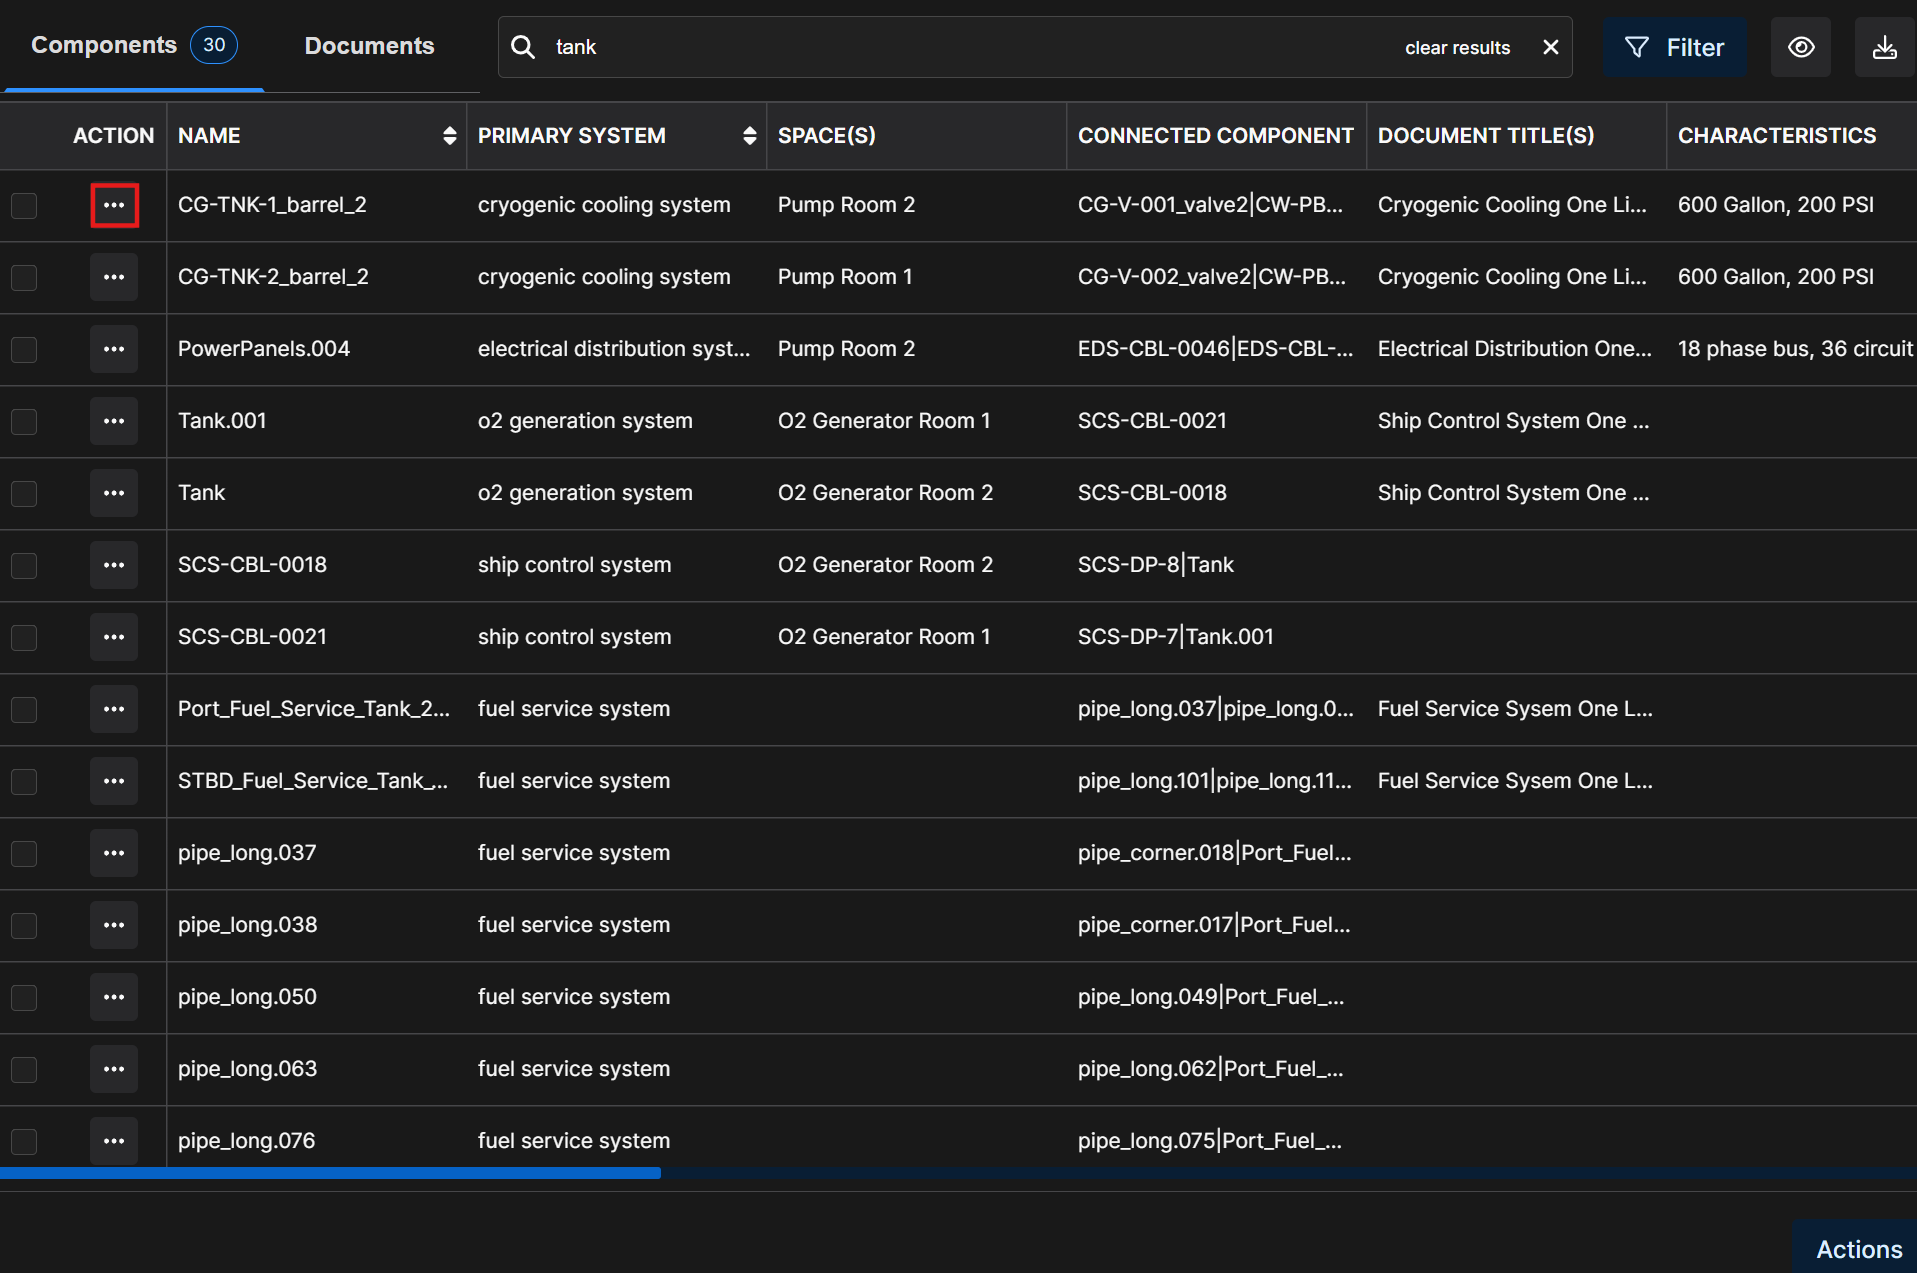
On an active search results table:
Left click the Ellipsis button in the Action (or Actions in a Document search) column of a desired component or document’s table row to open the Action Menu

Or left click the
 button in the lower right corner to access Action Menu option(s) you can apply to multiple search results
Action menu options for all listed search results
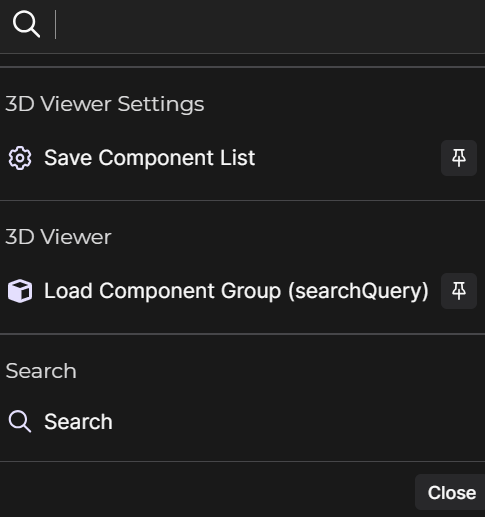
Action menu options for selected search results
In the Document Viewer
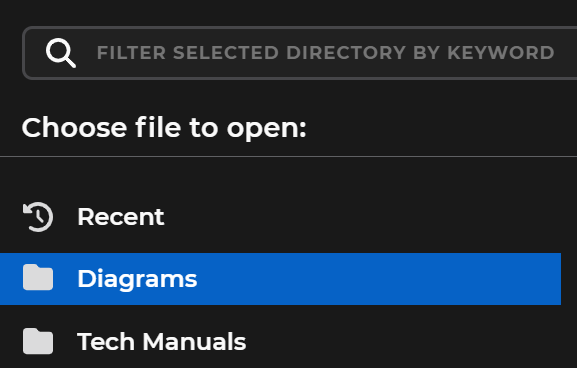
Select the Diagrams document directory, then select an available diagram to open.
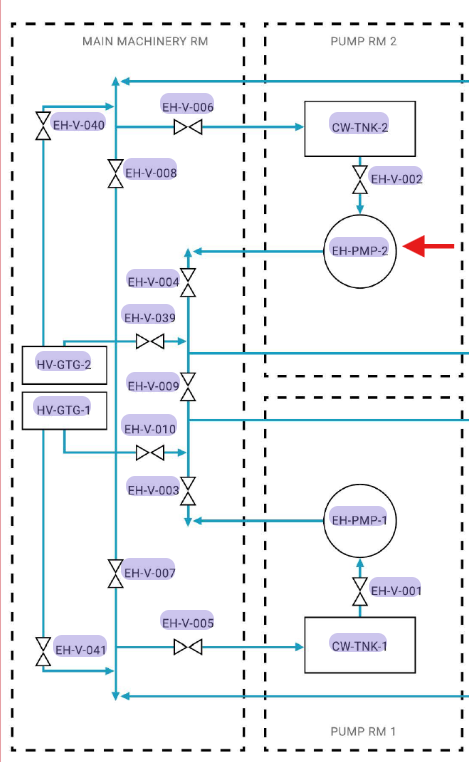
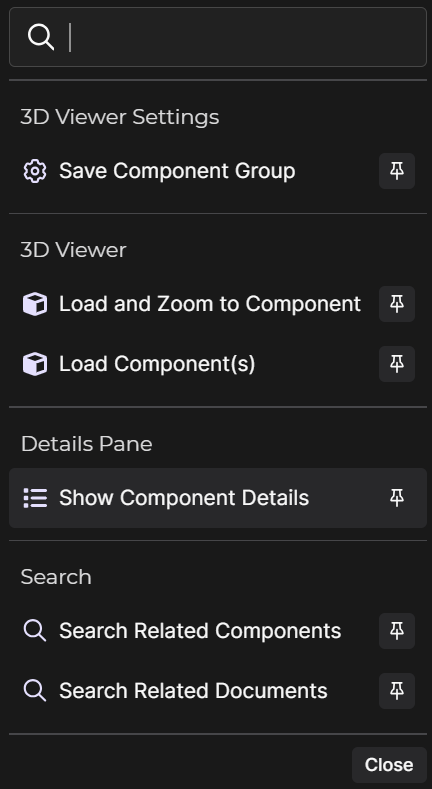
Left click any highlighted part name in the diagram to access the Action Menu.
Default Action Menu Behavior
Select a desired Action Menu option.
The program conducts your requested action for the currently selected item only.
Select a different component model, search result, or document to open a new Action Menu.
(1)(1).gif)
Pinned Action Menu Behavior
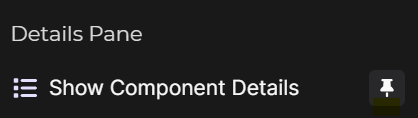
Left click the thumbtack icon beside a desired Action Menu option to make it the default selection for your current session.
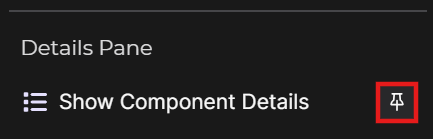
A selected thumbtack icon changes to solid white
NOTE
This action preempts the Action Menu and automatically forwards hints to a specific action.
Beast Core will perform the currently pinned action for each newly selected component model, search result, or document without reopening the Action Menu.
A pop-up notification confirms your pinned menu option:

This notification closes automatically after a few seconds
Left click the X to close sooner
While an action is pinned, a floating toolbar in the lower right corner displays:

The name of the pinned action and a thumbtack icon
Left click the thumbtack to unpin this action
A
 button
Left click to reopen or close the Action Menu
An Ellipsis
 button
 Left click the Ellipsis, then left click the pop-up Hide button to hide the floating toolbar (especially if it obstructs the horizontal scroll bar within an open diagram)
If you left click an item that requires a different type of action than the one currently pinned, a new Action Menu opens.
To unpin an Action Menu option:
Left click the thumbtack icon on the floating toolbar in the lower right corner
Or select a different Beast Core plugin icon:
On the far left side of the screen
Or in the left-hand content pane’s drop-down menu
A notification in the lower right corner alerts that the pinned Action Menu option “has been removed due to navigation”

When no action is pinned, the Action Menu reverts to its default behavior of bringing up a new Action Menu each time you highlight then right click a component, or left click a search result or document title.
Pin an Action - Use Case
SCENARIO
You want to conduct a virtual walkthrough of a certain system via hyperlinks on a diagram.
Load your desired system into the 3D Viewer on the 3D Viewer Settings plugin → Groups tab.
In the left-hand content pane, open the Document Viewer from the drop-down menu in the upper left corner.
Left click the
.png) swap button at the top of the content pane to move the Document Viewer to the main screen, then resize the document page to your preference.
swap button at the top of the content pane to move the Document Viewer to the main screen, then resize the document page to your preference.The 3D Viewer is now visible in the content pane
To enlarge the content pane:
Hover over the right side of the pane until a solid blue vertical line appears
Left click and drag the blue line to the right
In the document viewer, select the Diagrams directory, then select a diagram of the same system you have open in the 3D Viewer.
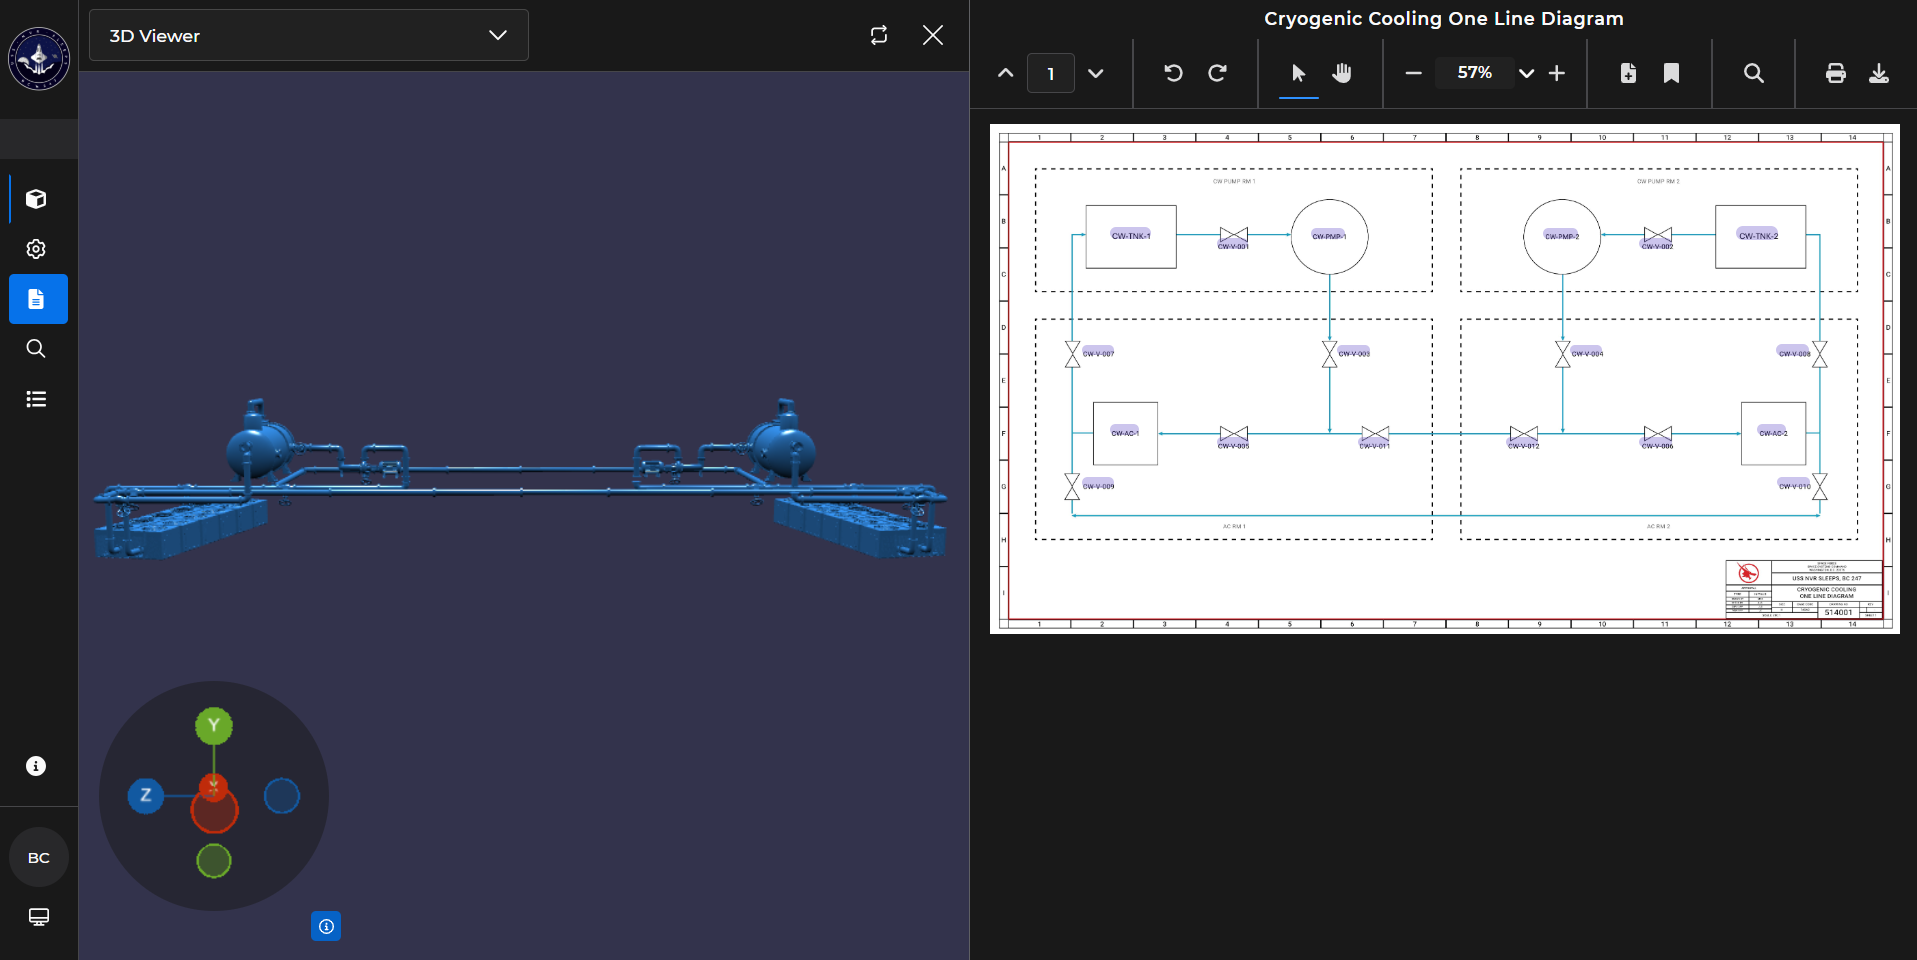
Left click on a highlighted component on the diagram.
On the pop-up Action Menu, left click the thumbtack next to the Zoom to Component option.

A pin notification is visible for a few seconds, and a floating toolbar appears at the bottom of the screen.
The camera Zooms to the selected component in 3D Viewer (in the left-hand content pane).
Left click another system component on the open diagram in the Document Viewer.
Because Zoom to Component is the pinned action, the camera automatically zooms to the newly selected component in the 3D Viewer without reopening the Action Menu.
.gif)
Repeat Step 9 until the virtual system walkthrough is complete.