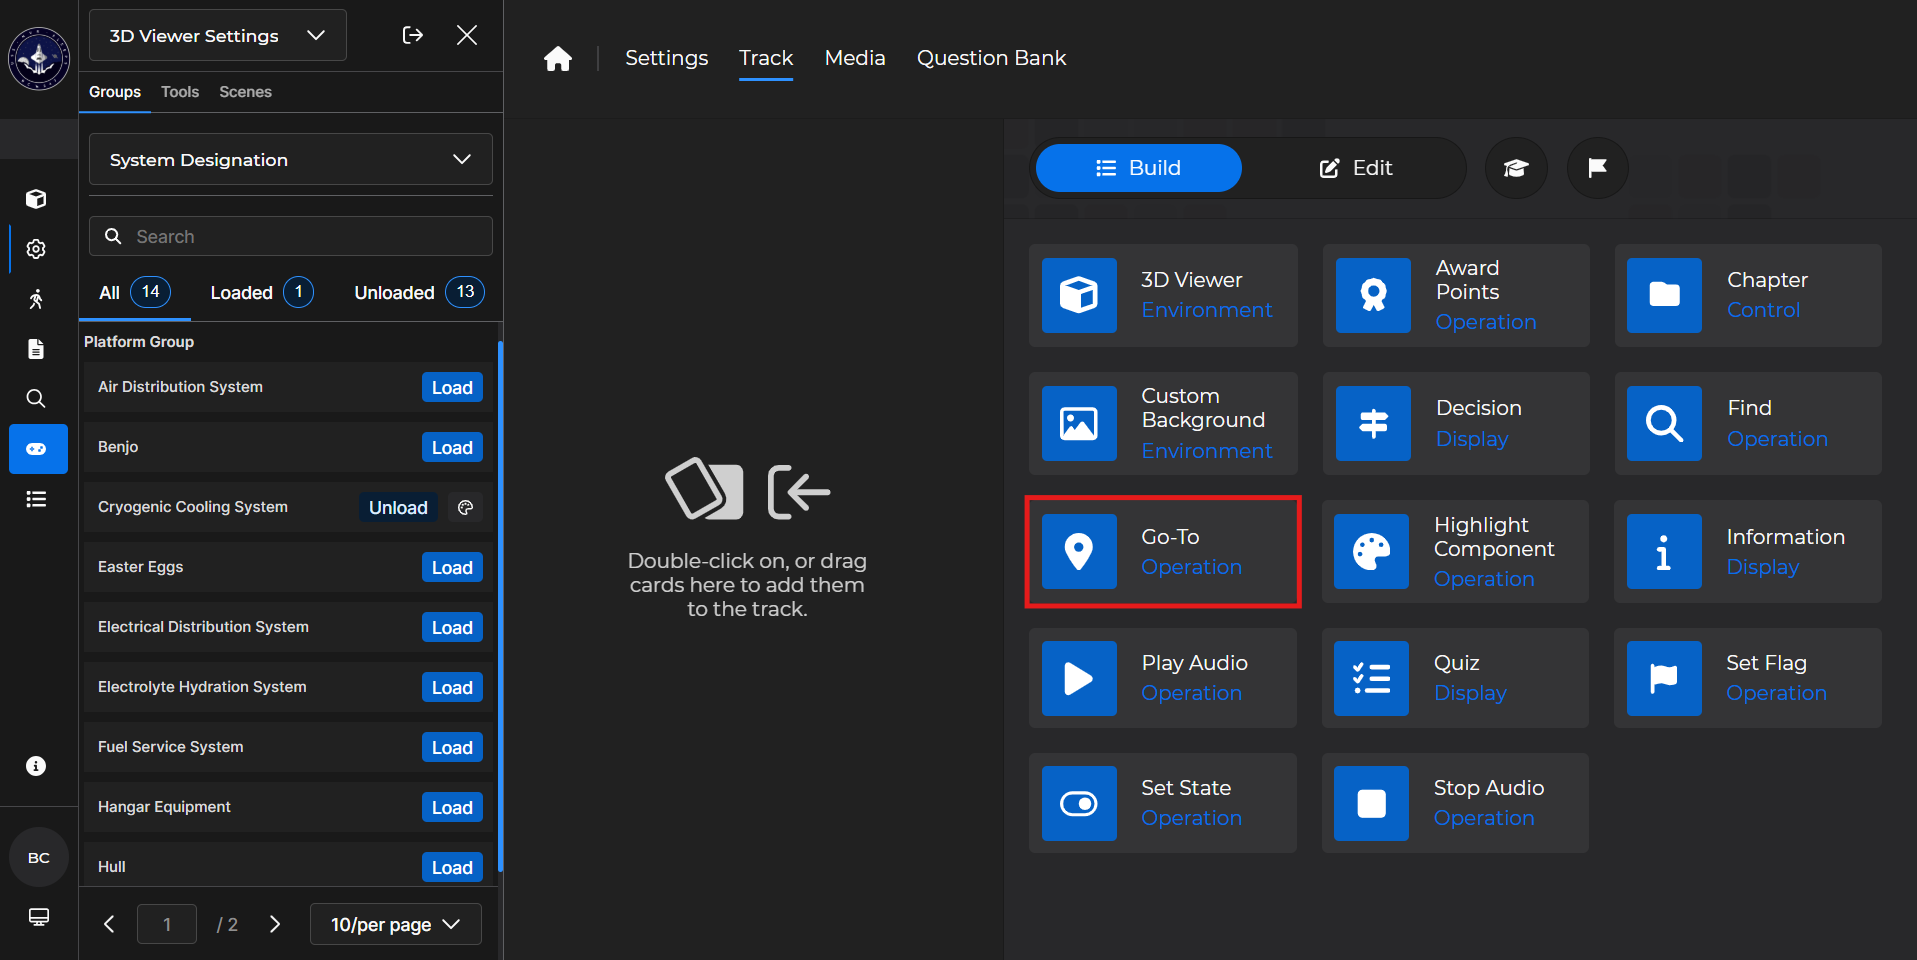
Go To cards zoom the camera to a specified location or component.
NOTE
To ensure the Go To card functions properly, use a 3D Viewer card at some point before one of the following after it:
Building the Card
To add the card to the lesson track:
Left click and drag the card to the track
Double click the card to add automatically
To begin editing:
Left click the card on the track and then left click

OR double left click the card on the track to open editing automatically
In the editing window, you can:
Edit the time, in milliseconds, for how quickly the camera zooms to the specified area
Defaults to 3,000 milliseconds
Choose to go to a Component, Position, or Space
Component takes you to a component such as a tank in 3D Viewer
Position takes you to a specific axis point in the 3D Viewer
Space takes you to an area such as the Crew Quarters in Avatar Viewer
This functionality is still under development
Go To Card - Use Case
One popular use of a Go To card is to zoom a learner directly to a specific component.
Example: Follow the steps below to configure a lesson to have a learner zoom to and get more details about a component.
Set up a 3D Viewer card that contains the system you want the learner to see.
Add an Information card to provide context for what the learner will do.
Put a Go To card underneath the 3D Viewer card.
Set the Type to Component.
Search for a component you want the learner to know more about.
Select
 .
.Add an Information card that provides more details about the displayed component.
