The Search Tools window in the LSV provides five search tabs that offer multiple ways to find attribute values to load as layer(s) in your current scene.
Search Tools Window Navigation
The Search Tools window:
Opens by default on the left side of the screen
If closed, access on the View menu in the upper left corner

Can be enlarged by left clicking and dragging the blue triangle in the lower right corner
Provides five search tabs for locating and selecting attribute values to load as layers or sublayers in the current Scene

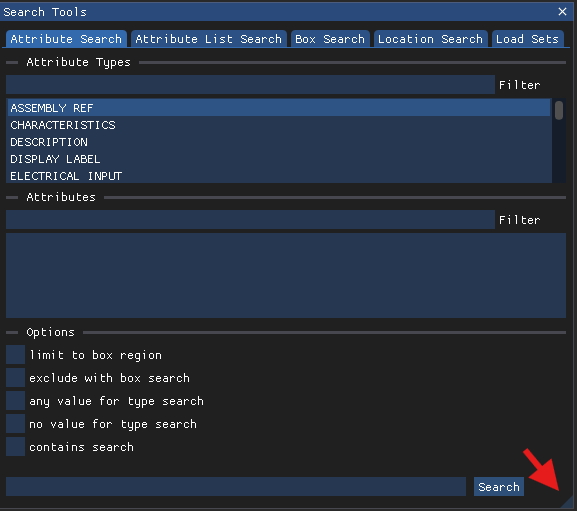
Attribute Search (Default) Tab
Choose this search option to access:
Preset lists of modeled Attribute types and values that can be filtered for easier selection
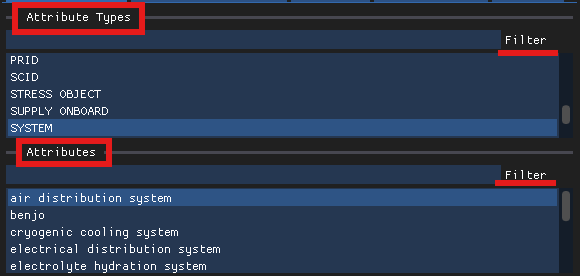
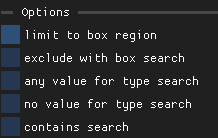
Search refinement options
Left click the
 button in the lower right corner to load your selected attribute(s) into the current scene.
Refer to the Attribute Search Tab (LSV) article for additional information.
Attribute List Search Tab
Choose this search tab to bypass all filters and perform a manual search for desired attributes.
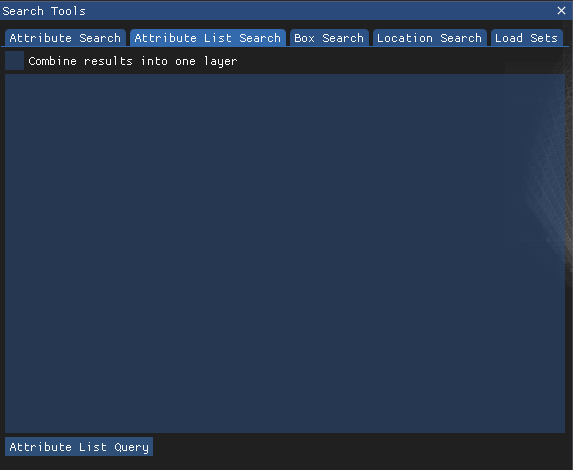
In the Attribute List Search tab’s large, empty textbox, manually enter your desired attributes (in the exact format used in the Attributes section on the Attribute Search tab).
EXAMPLE: Attributes formatted in all lowercase letters on the Attribute Search tab must have all lowercase letters in the Attribute List Search textbox.
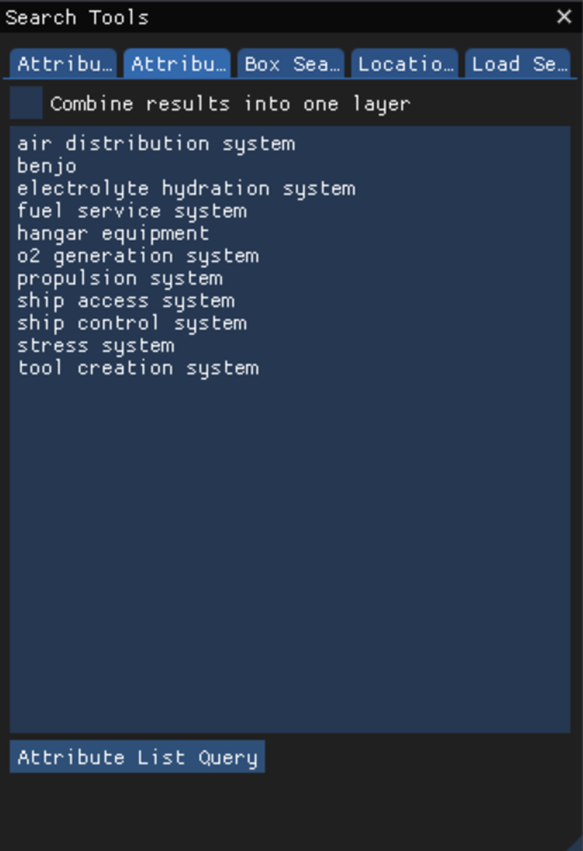
Leave the Combine results into one layer select box unchecked if you want to load each listed attribute as a separate layer.
Or left click this select box to load all listed attributes in a single layer named Attribute List Search

Left click the
 button to load your manually listed attributes into the current scene.
Refer to the Attribute List Search Tab (LSV) article for additional information.
Box Search Tab
Choose this search tab to load all models within a set radius on the X, Y, Z axes into a single layer.
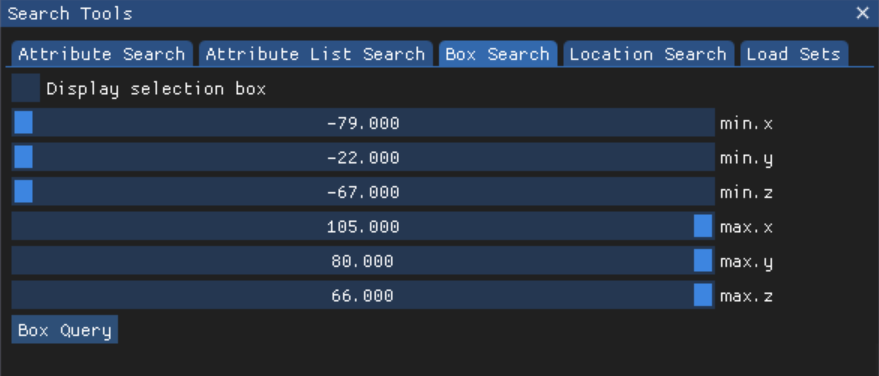
Use the minimum and maximum x, y, z axes sliders to set the bounds of your desired radius.
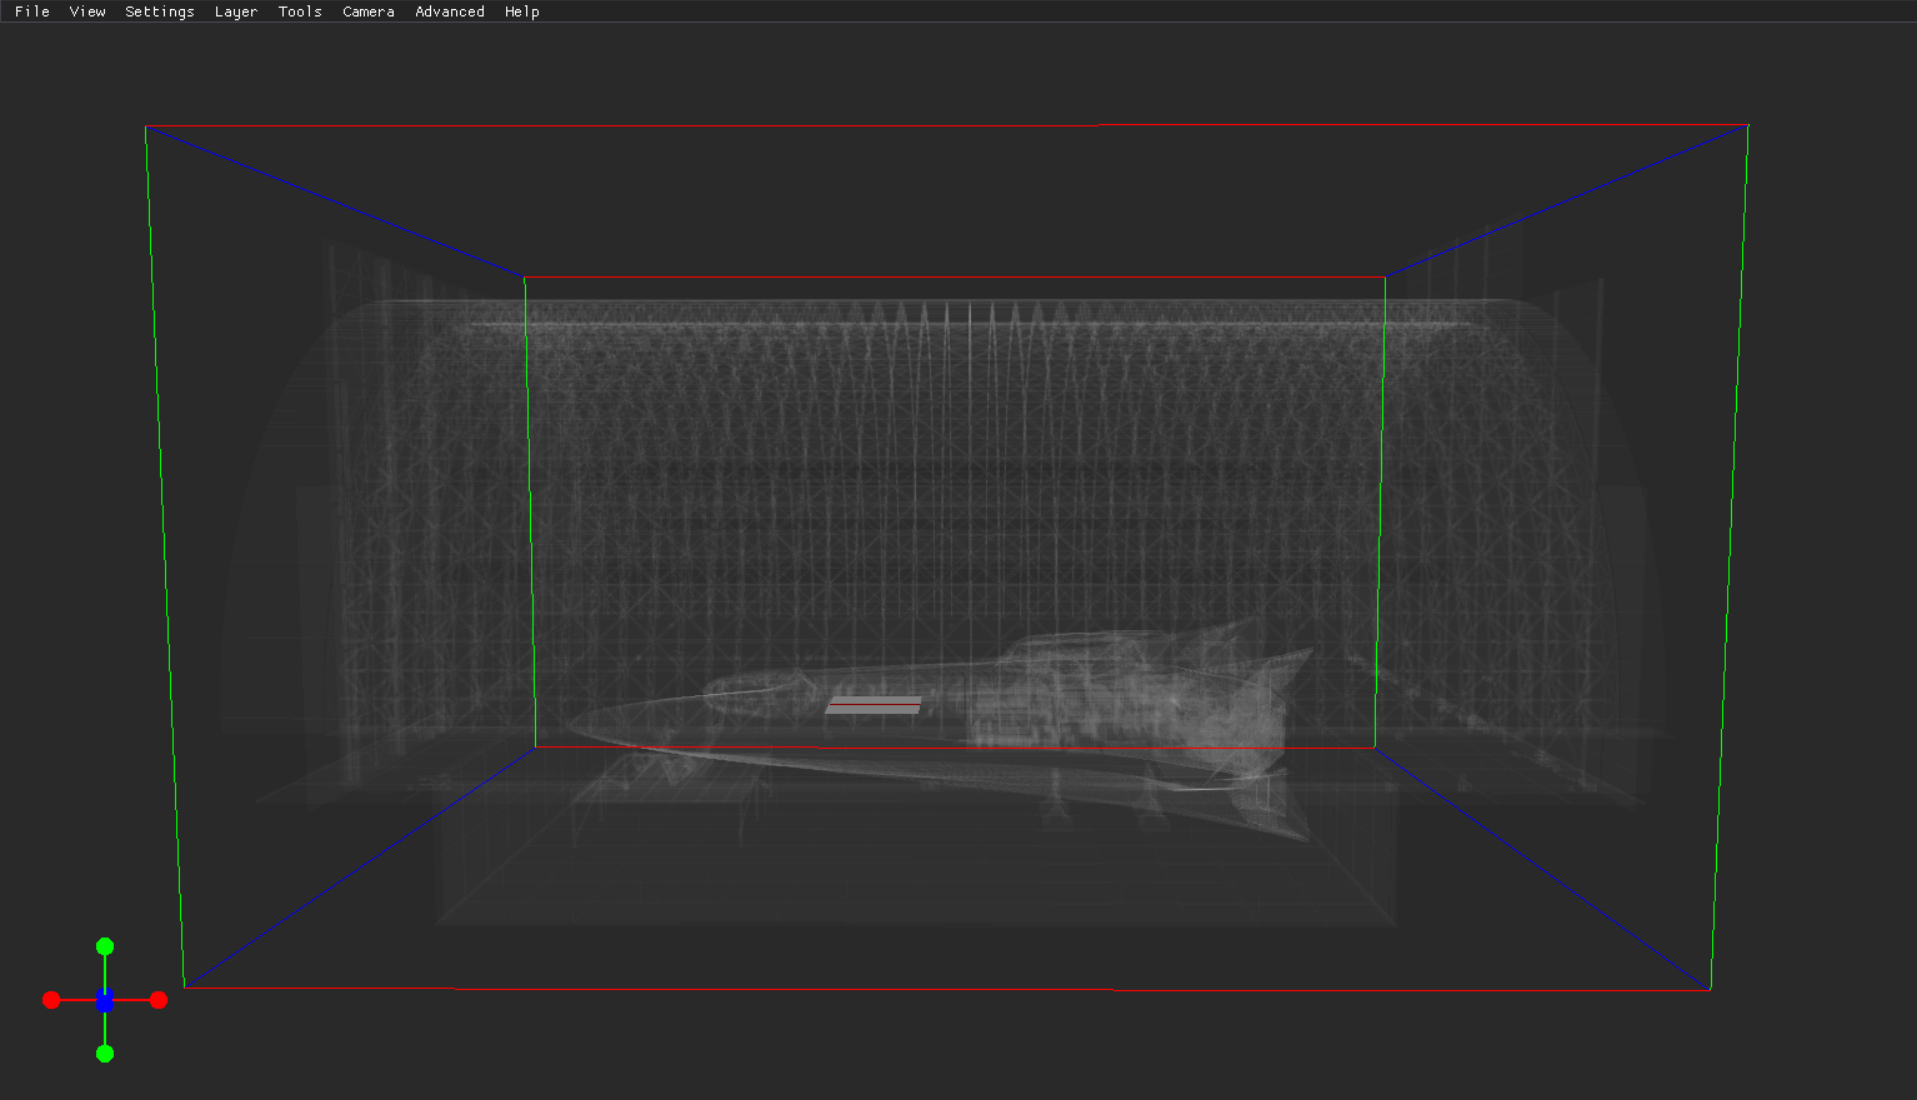
Left click the Display selection box select box to visualize your selected X, Y, Z axes points on the loaded scene.

Adjust the minimum and maximum x, y, z sliders, if needed
Left click the
 button to load all attributes included in your selected radius as a single layer.
Refer to the Box Search Tab (LSV) article for additional information.
Location Search Tab
Choose the this tab to search for attributes within a set distance of a specifically selected model.
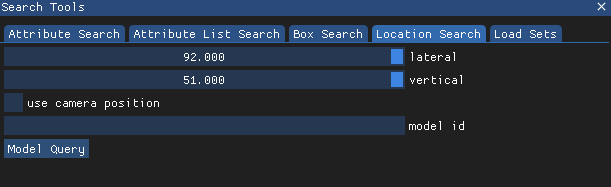
Decide if you want to perform a:
Model Query - Based on the distance to a selected model
Or Location Query - Which allows the camera position to determine the render
Model Query Steps
Left click on a model in a loaded scene to populate the model id textbox in the Location Search tab automatically.
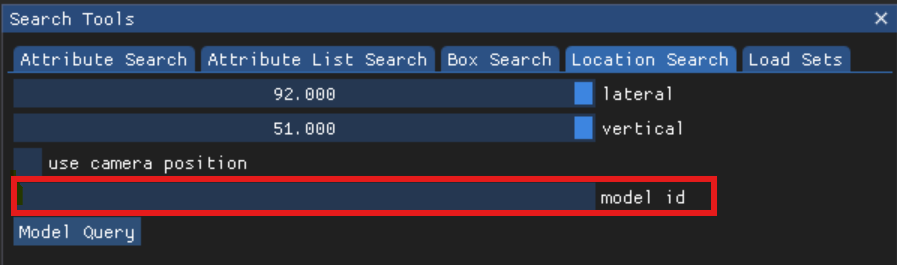
Left click and drag the lateral and vertical sliders to set the search distance (in meters) from the selected model.
Left click the
 button to load the layer.
Location Query Steps
Complete Model Query Steps 1 - 2 above.
Left click to check the use camera position select box.
Left click to check the update automatically select box if you want the scene to update as the camera moves
Left click and drag the (now visible) auto load distance slider to determine render distance as the camera moves

Left click the
 button to load the layer.
Refer to the Location Search Tab (LSV) article for additional information.
Load Sets Tab
Use this search tool in conjunction with the Attributes Search tab to apply additional search filters that create a new sublayer within a selected layer.
NOTE
Access the Load Sets tab first, then open the Attributes Search tab to complete this task.
Refer to the Add a Sublayer to a Loaded Layer (LSV) article for step-by step directions.